hey everybody,
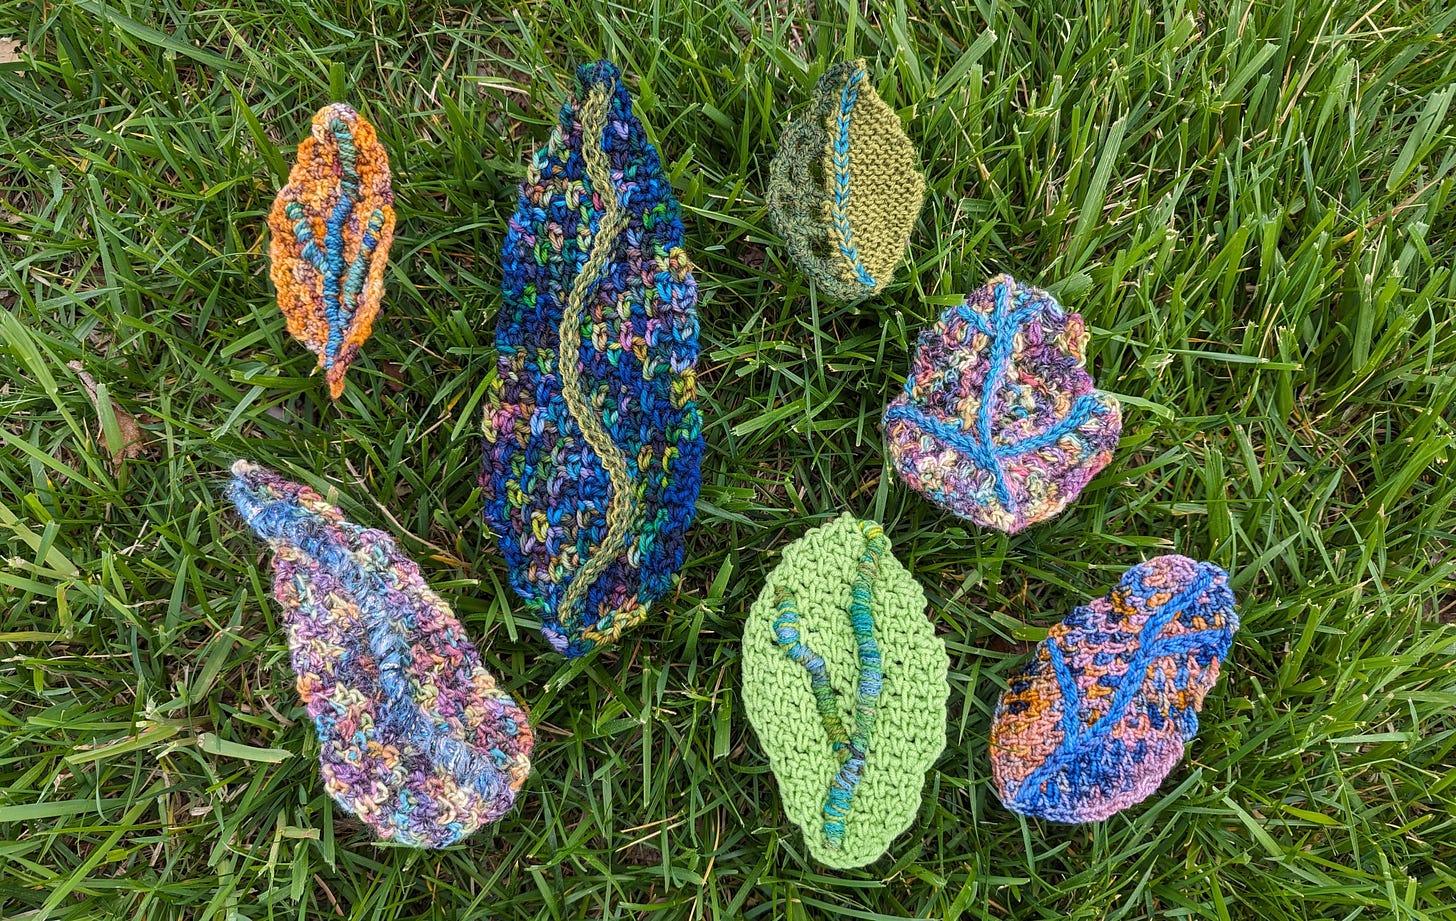
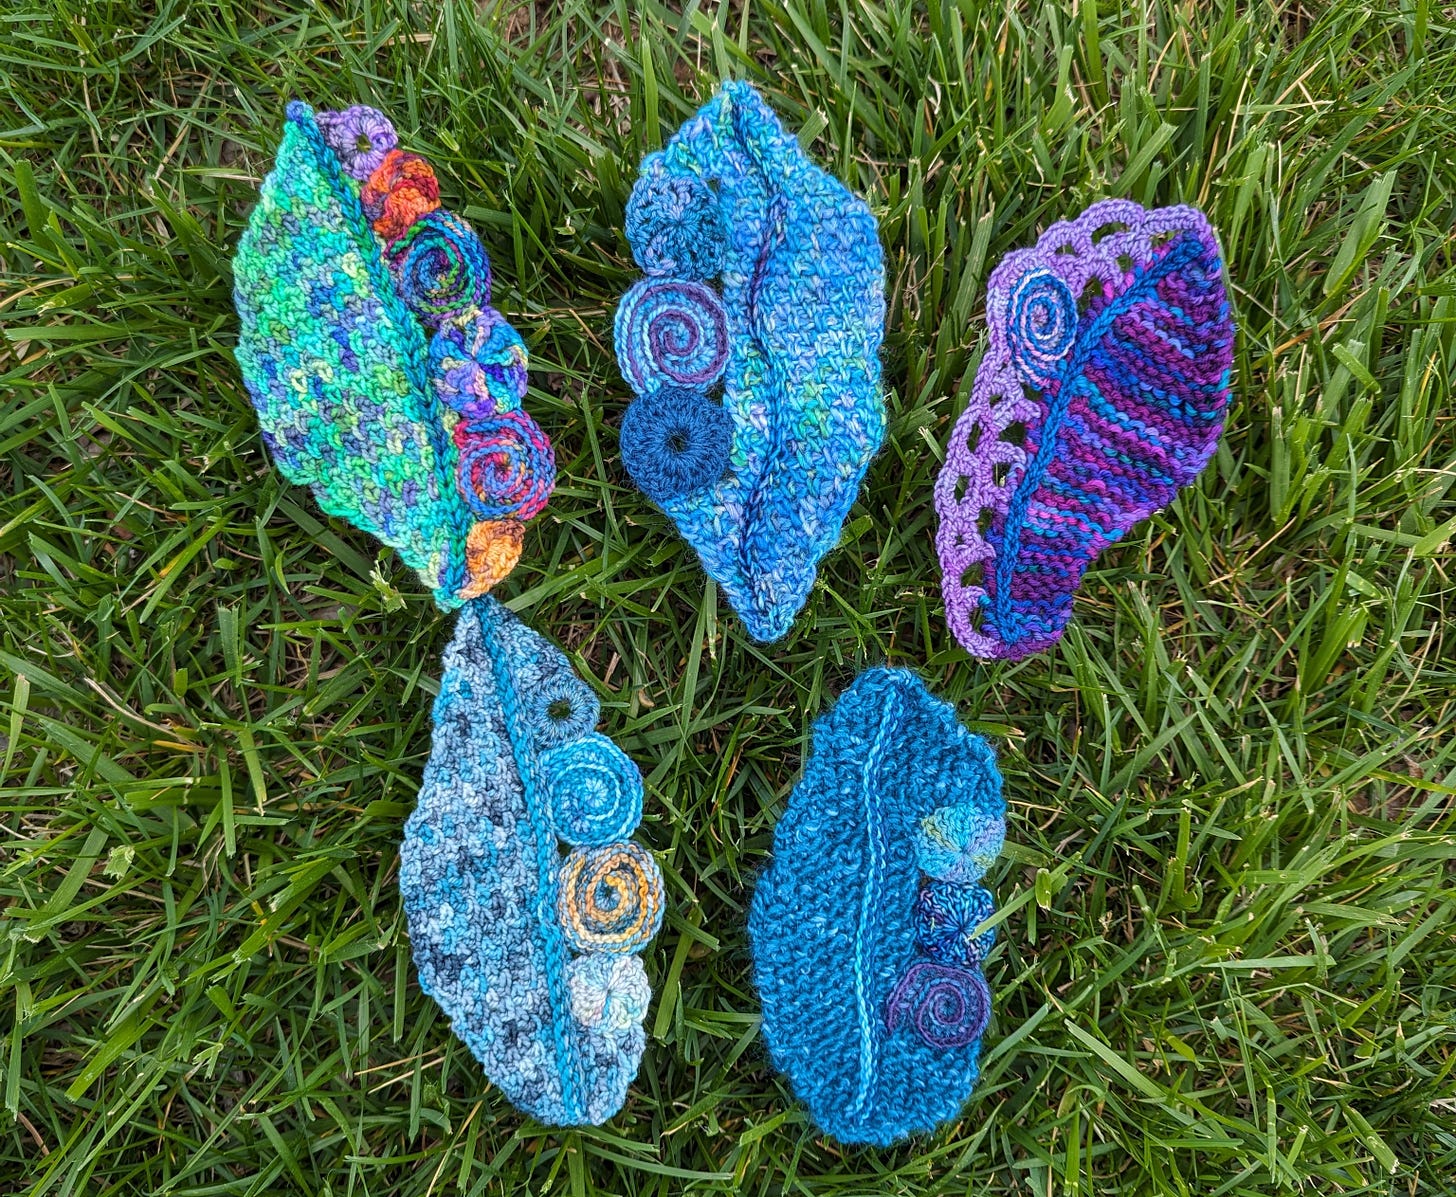
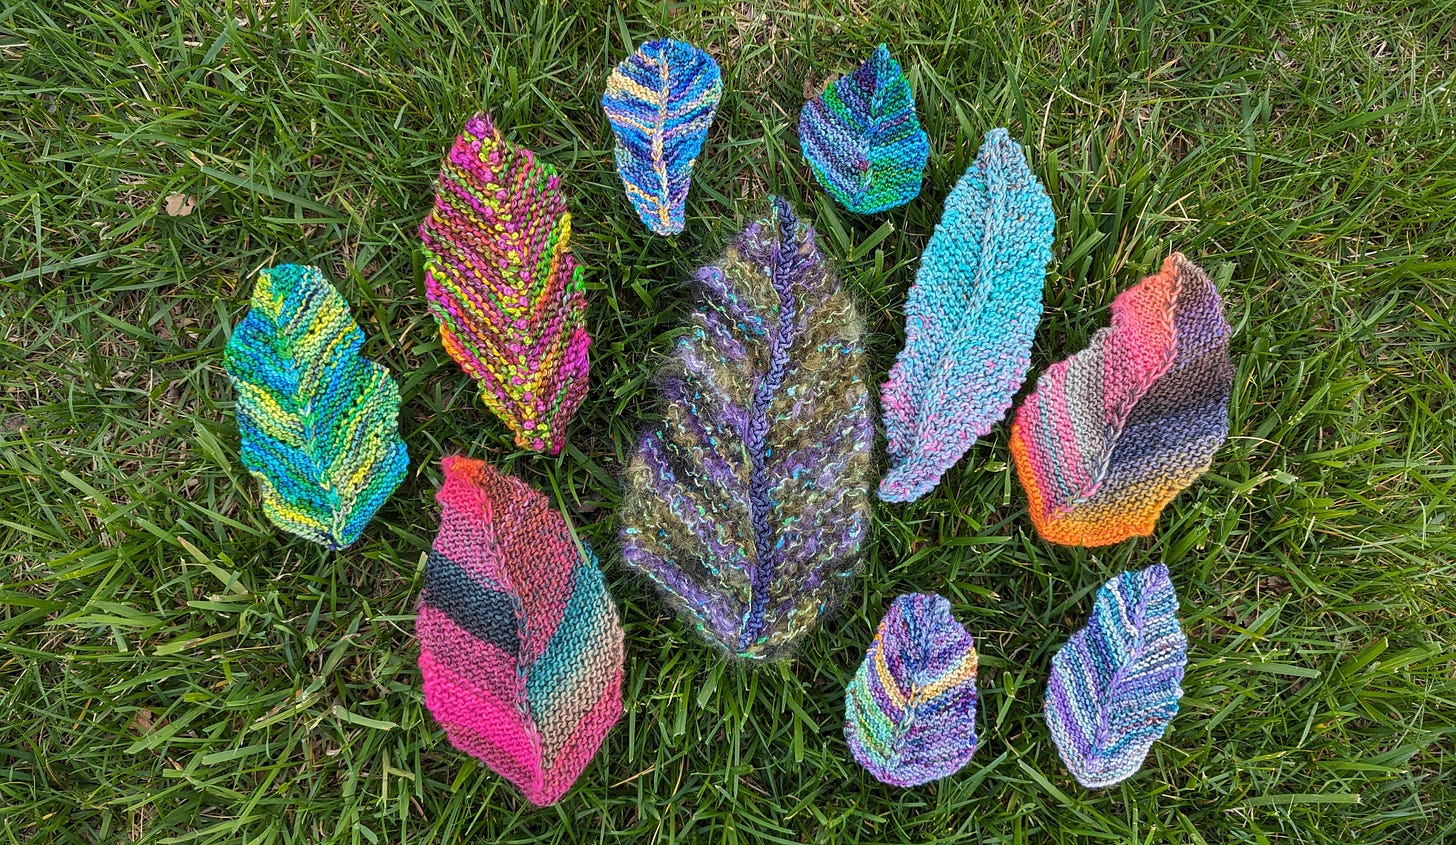
We're having a beautiful Spring in central North Carolina, complete with flowering trees in full bloom and daffodils that dot many neighborhood lawns. I’m enjoying seeing the leaves for my 100 Day Project come to life on my knitting needles and crochet hooks as well. I’ve bounced around in style and stitch making these leaves, trying out new ideas, tweaking older ones. A few categories have emerged.
There's a list in my notebook of more ideas to explore, but I’m also trying to let one leaf inspire the next in some part. Toggling between these two approaches makes for a somewhat chaotic process, unsurprisingly, and I’m getting more and more comfortable with that.
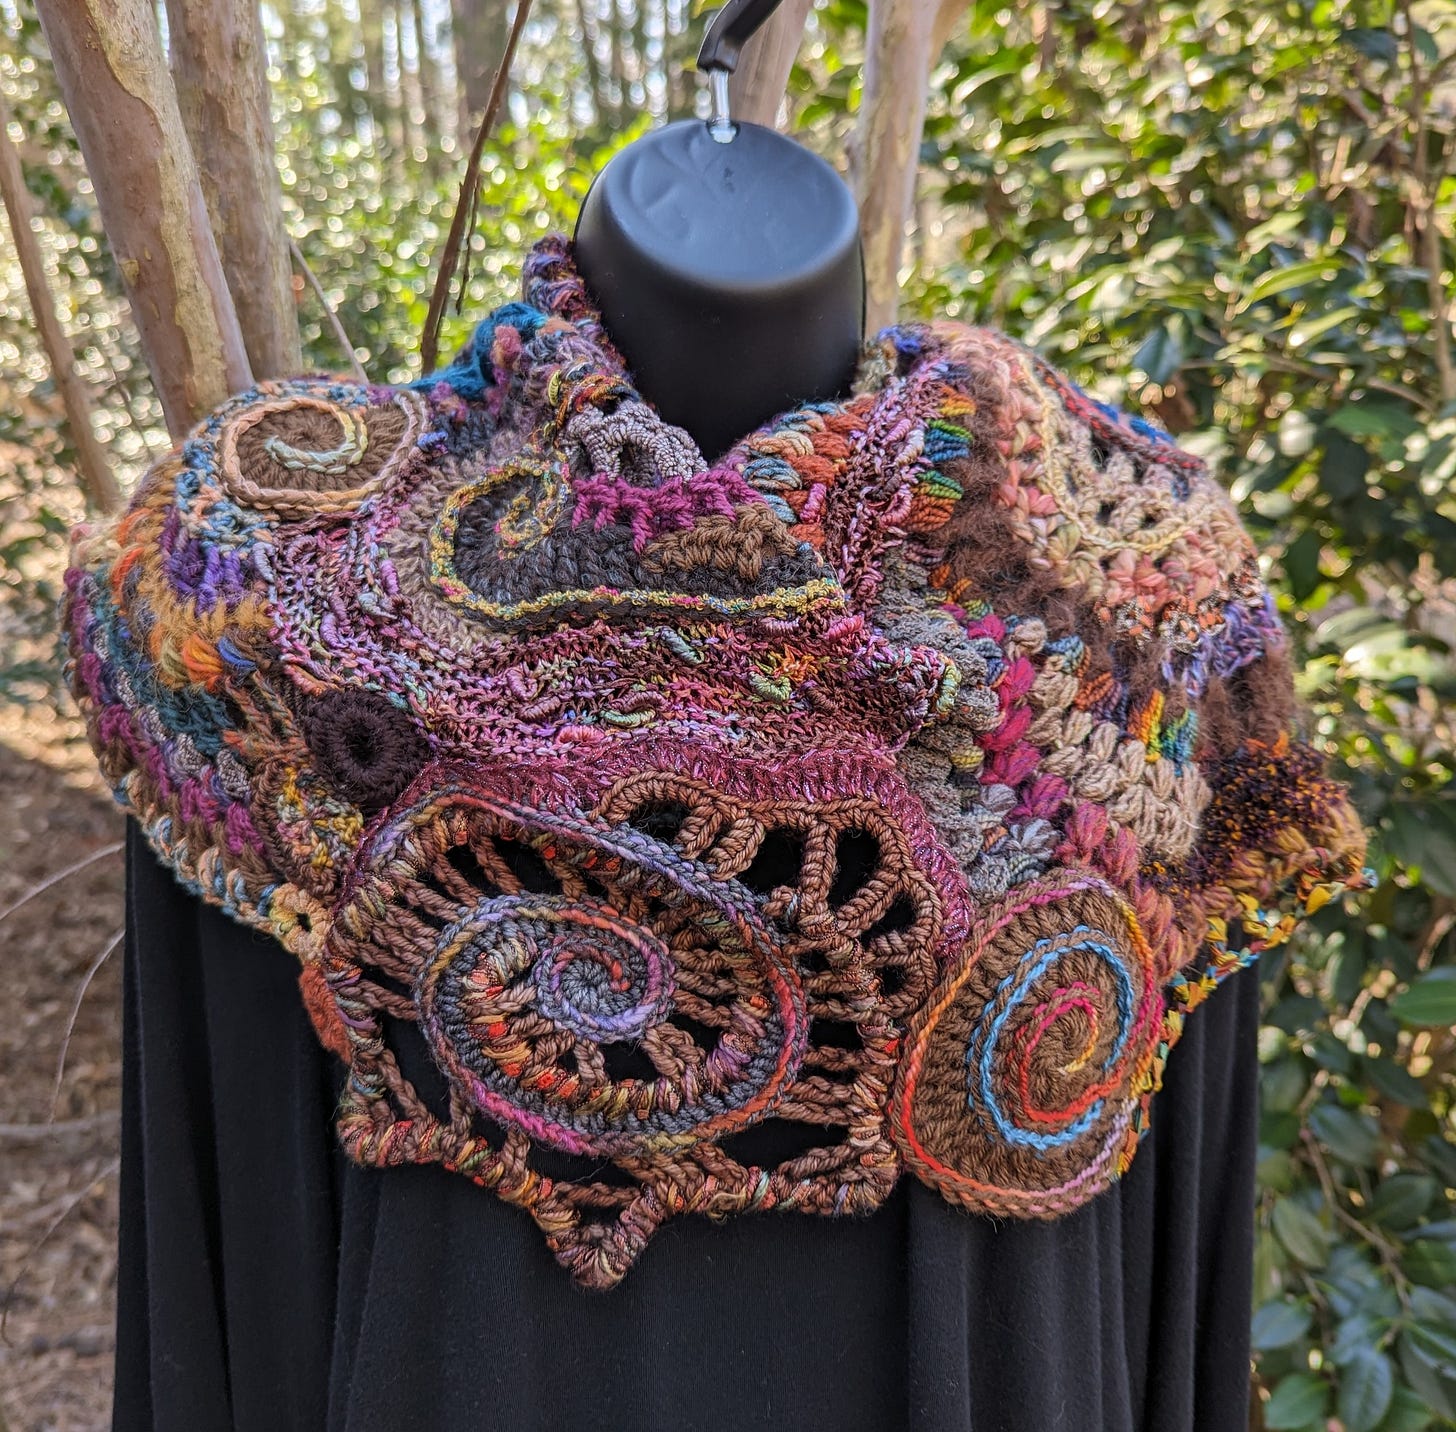
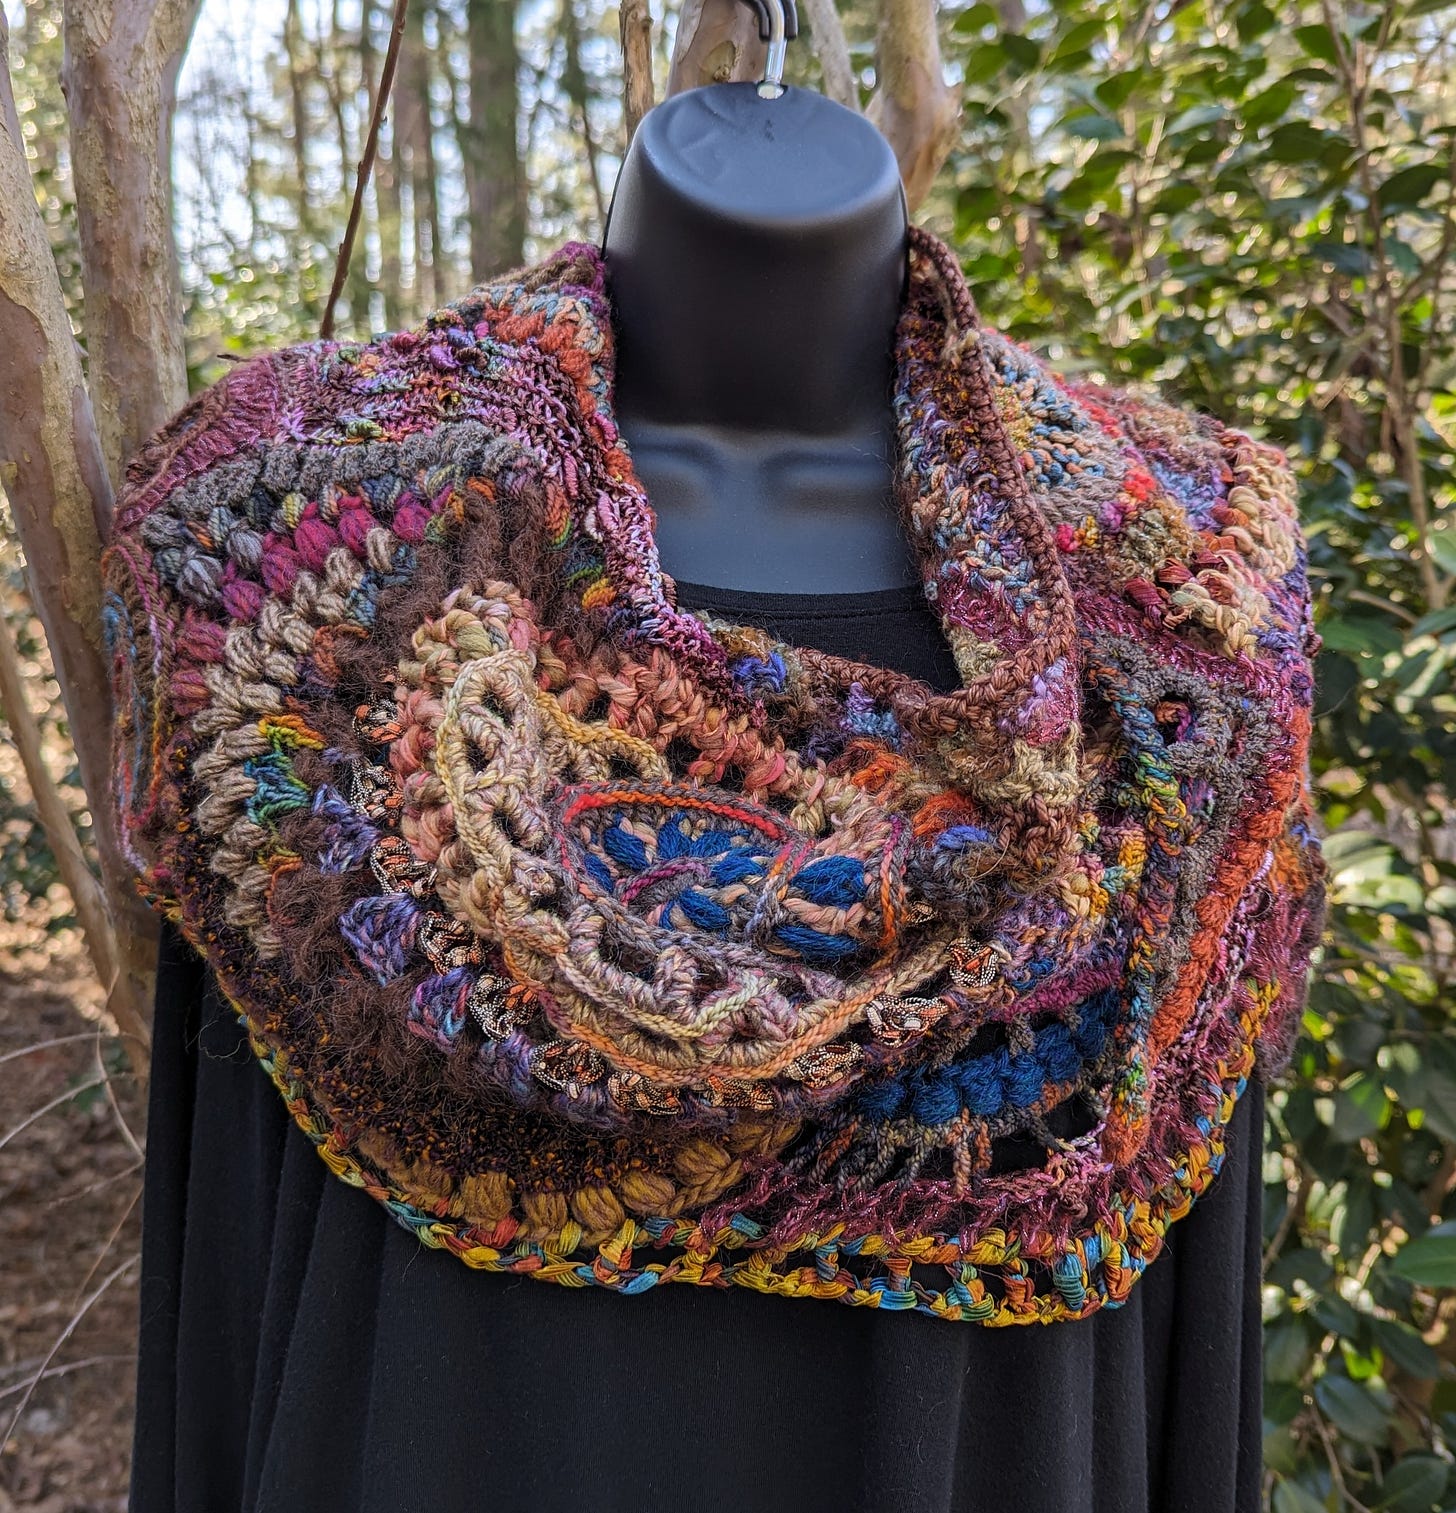
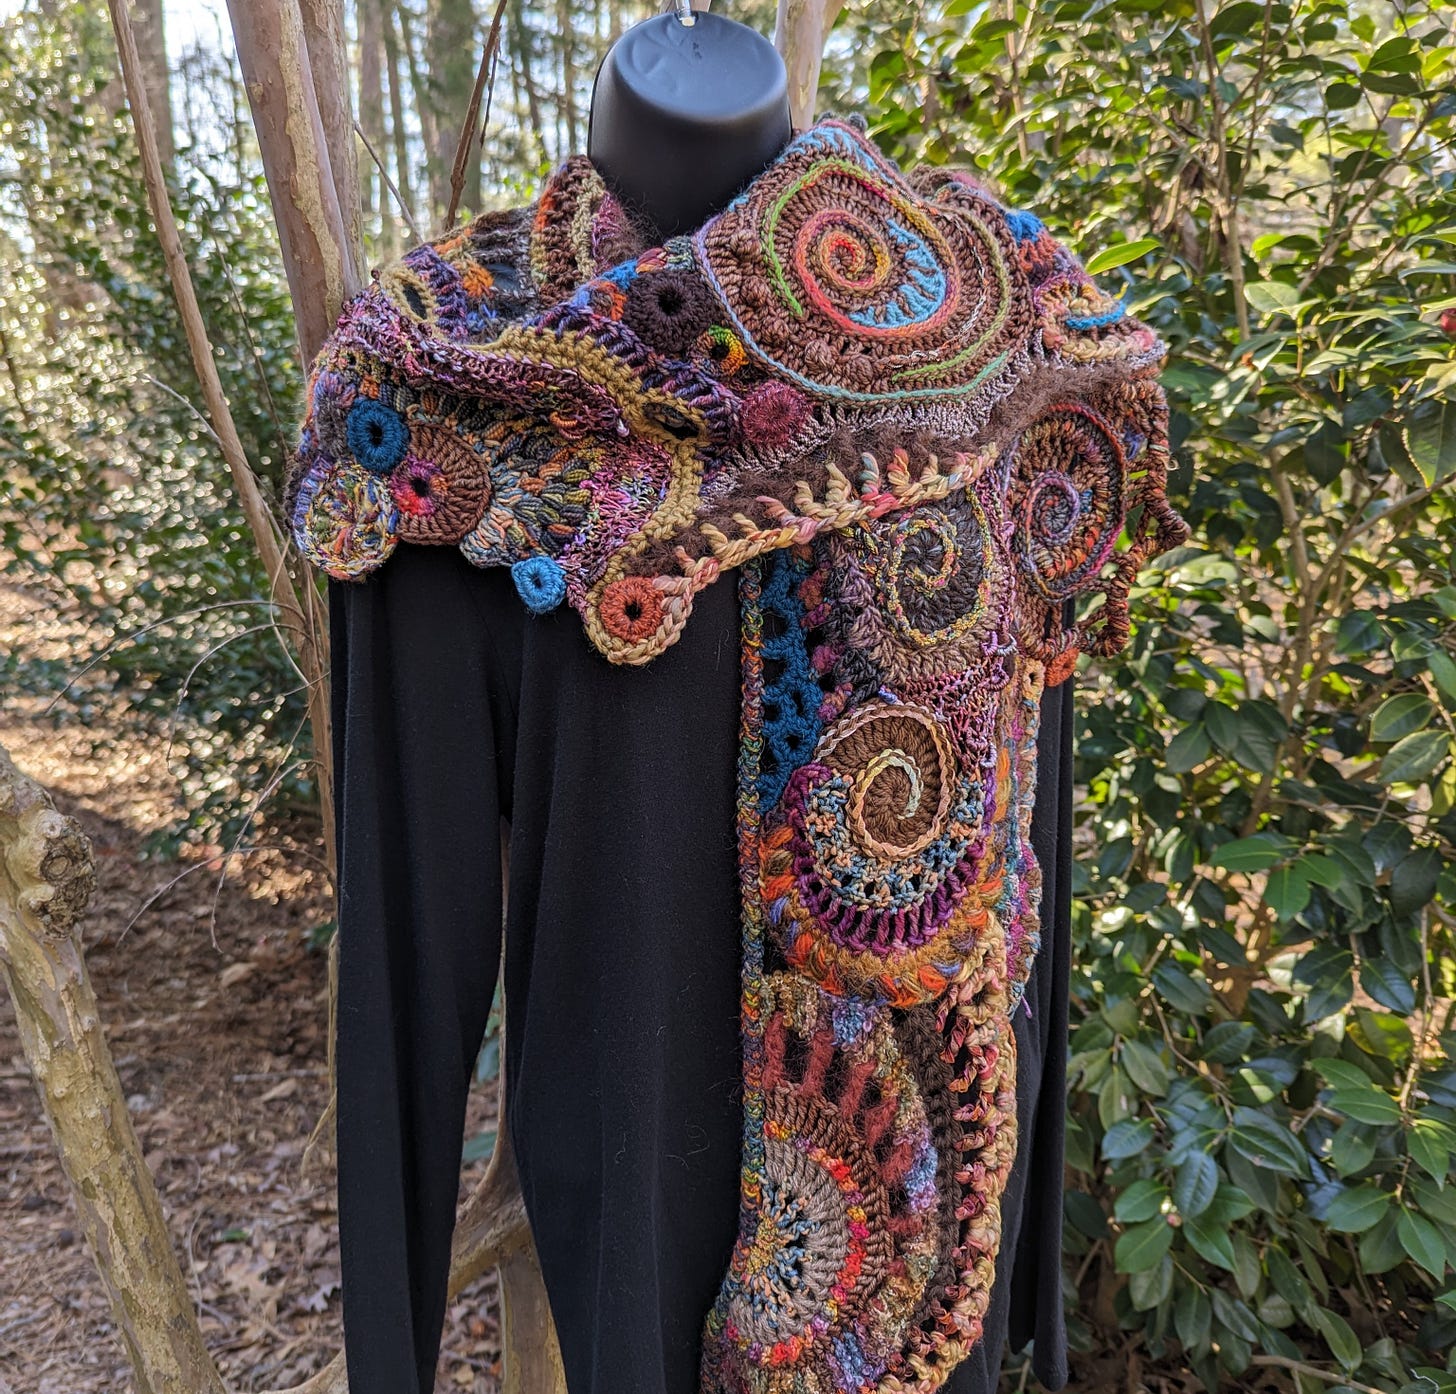
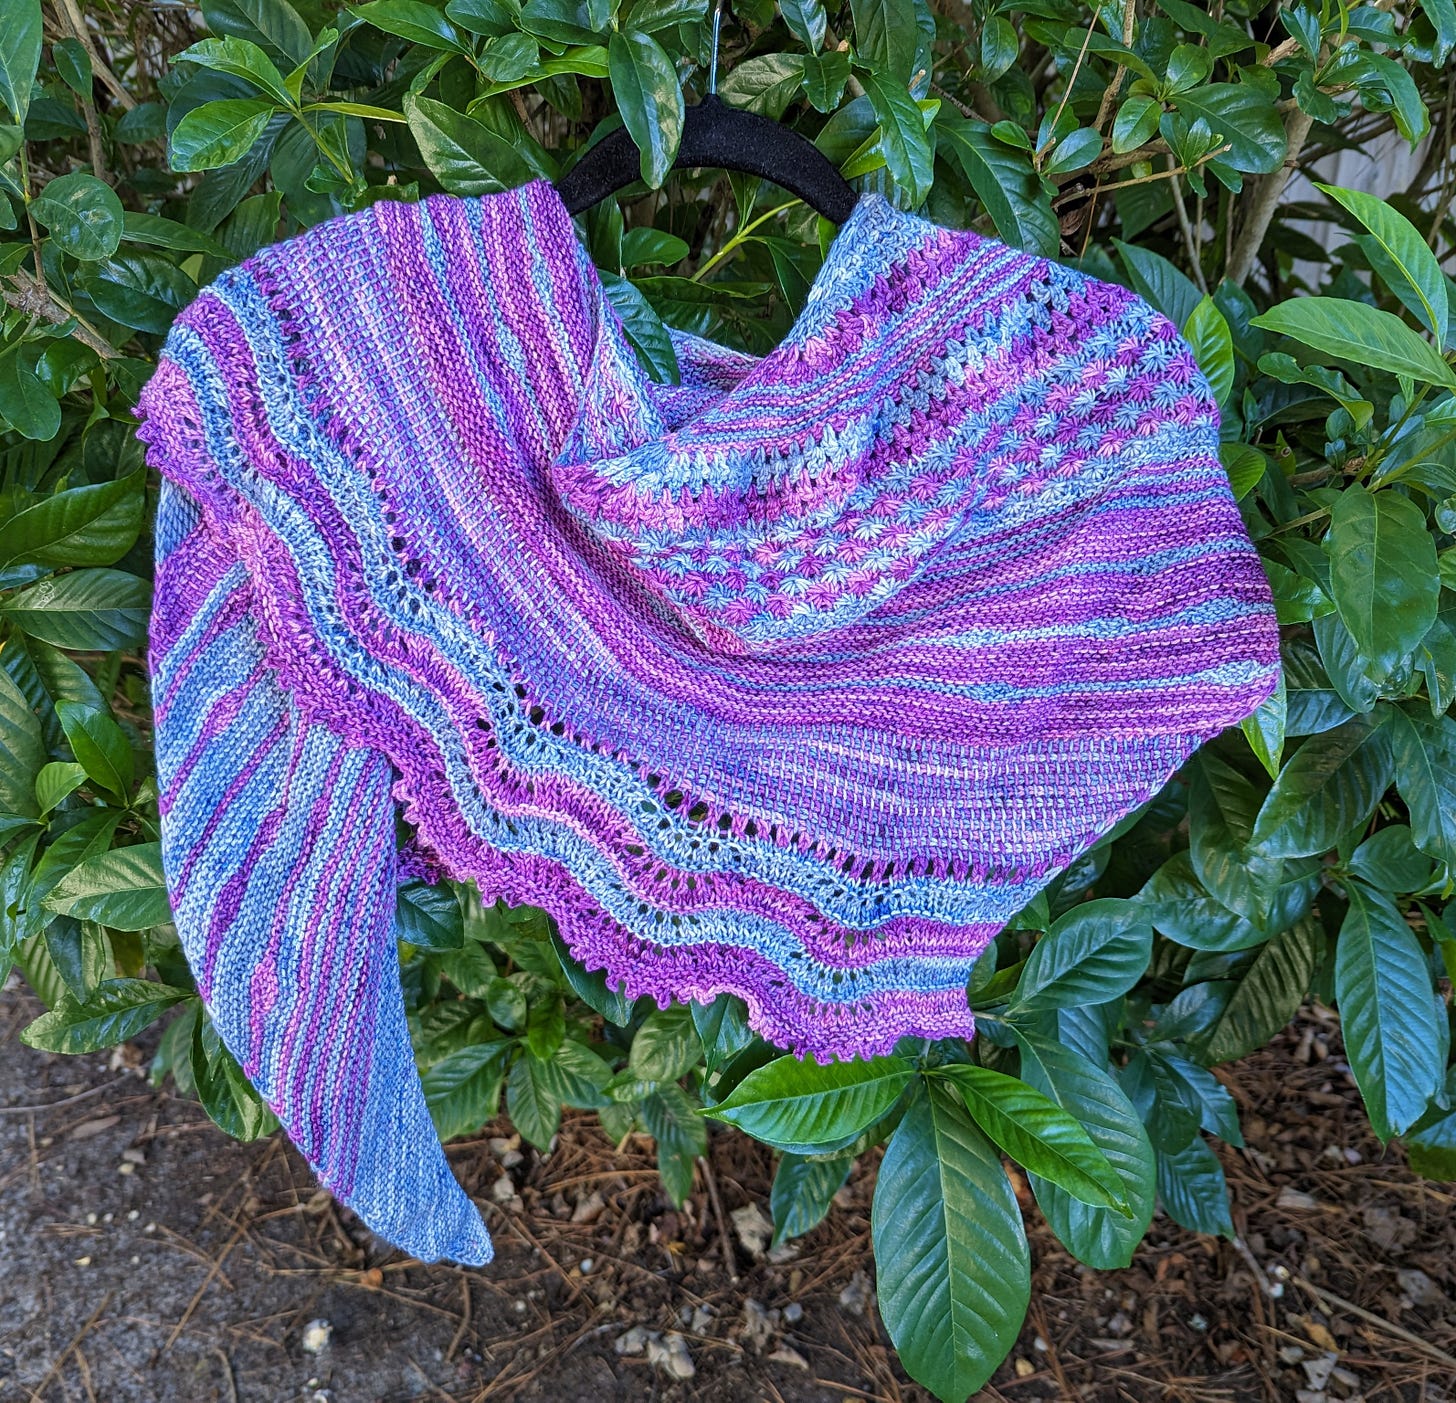
In other news, the Organic Shawl is finished.
I finished it the week after the Carolina Fiber Fest. Two lovely groups of crocheters joined me there for classes. The first class was on beginning freeform, the second was all about this shawl. As always, it was fascinating seeing each student come up with completely different results while participating in class together. How wonderfully freeform!
what I love about this: granny stitch
When I first learned how to crochet, I made tons of granny squares. They never really seem to lose their popularity, probably because they’re so satisfying to make and assemble into blankets, garments, and everything, really, including freeform crochet.
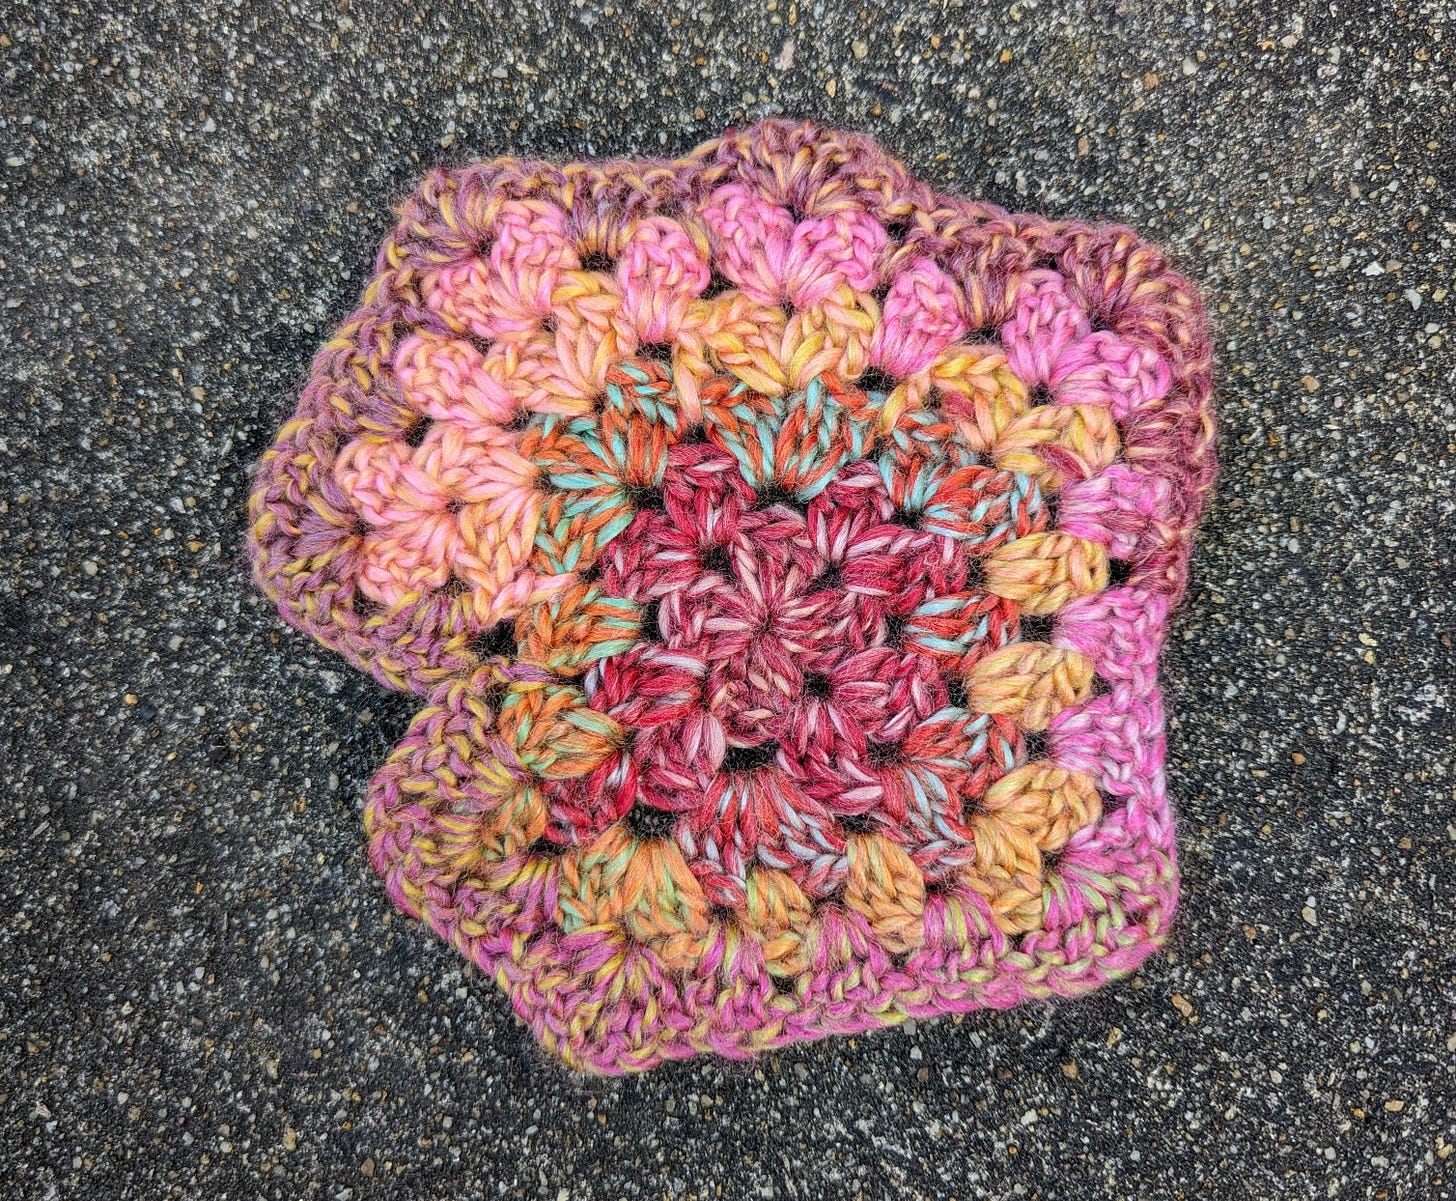
The challenge of putting the granny stitch into freeform fabrics is that it really likes to be worked in straight lines, and freeform tends to prefer more curvy, organic shapes. But crochet is endlessly flexible, and freeformers make it a habit to adjust their stitches so that they can bend their favorite stitch patterns around corners and curves. Take the awkward little experiment in the photo below, for instance. I started out with a traditional granny square before practicing making the stitches twist and turn at random just for fun, changing it into some kind of square/amoeba hybrid.
Some of my designs and most of my freeform pieces have a little bit of granny stitch, usually just a smattering here and there. A few pieces have a tiny granny square, but it’s also fun to try to use the iconic pattern in slightly less traditional ways.
This shawl has a few rows just above the area that looks like little fireworks.
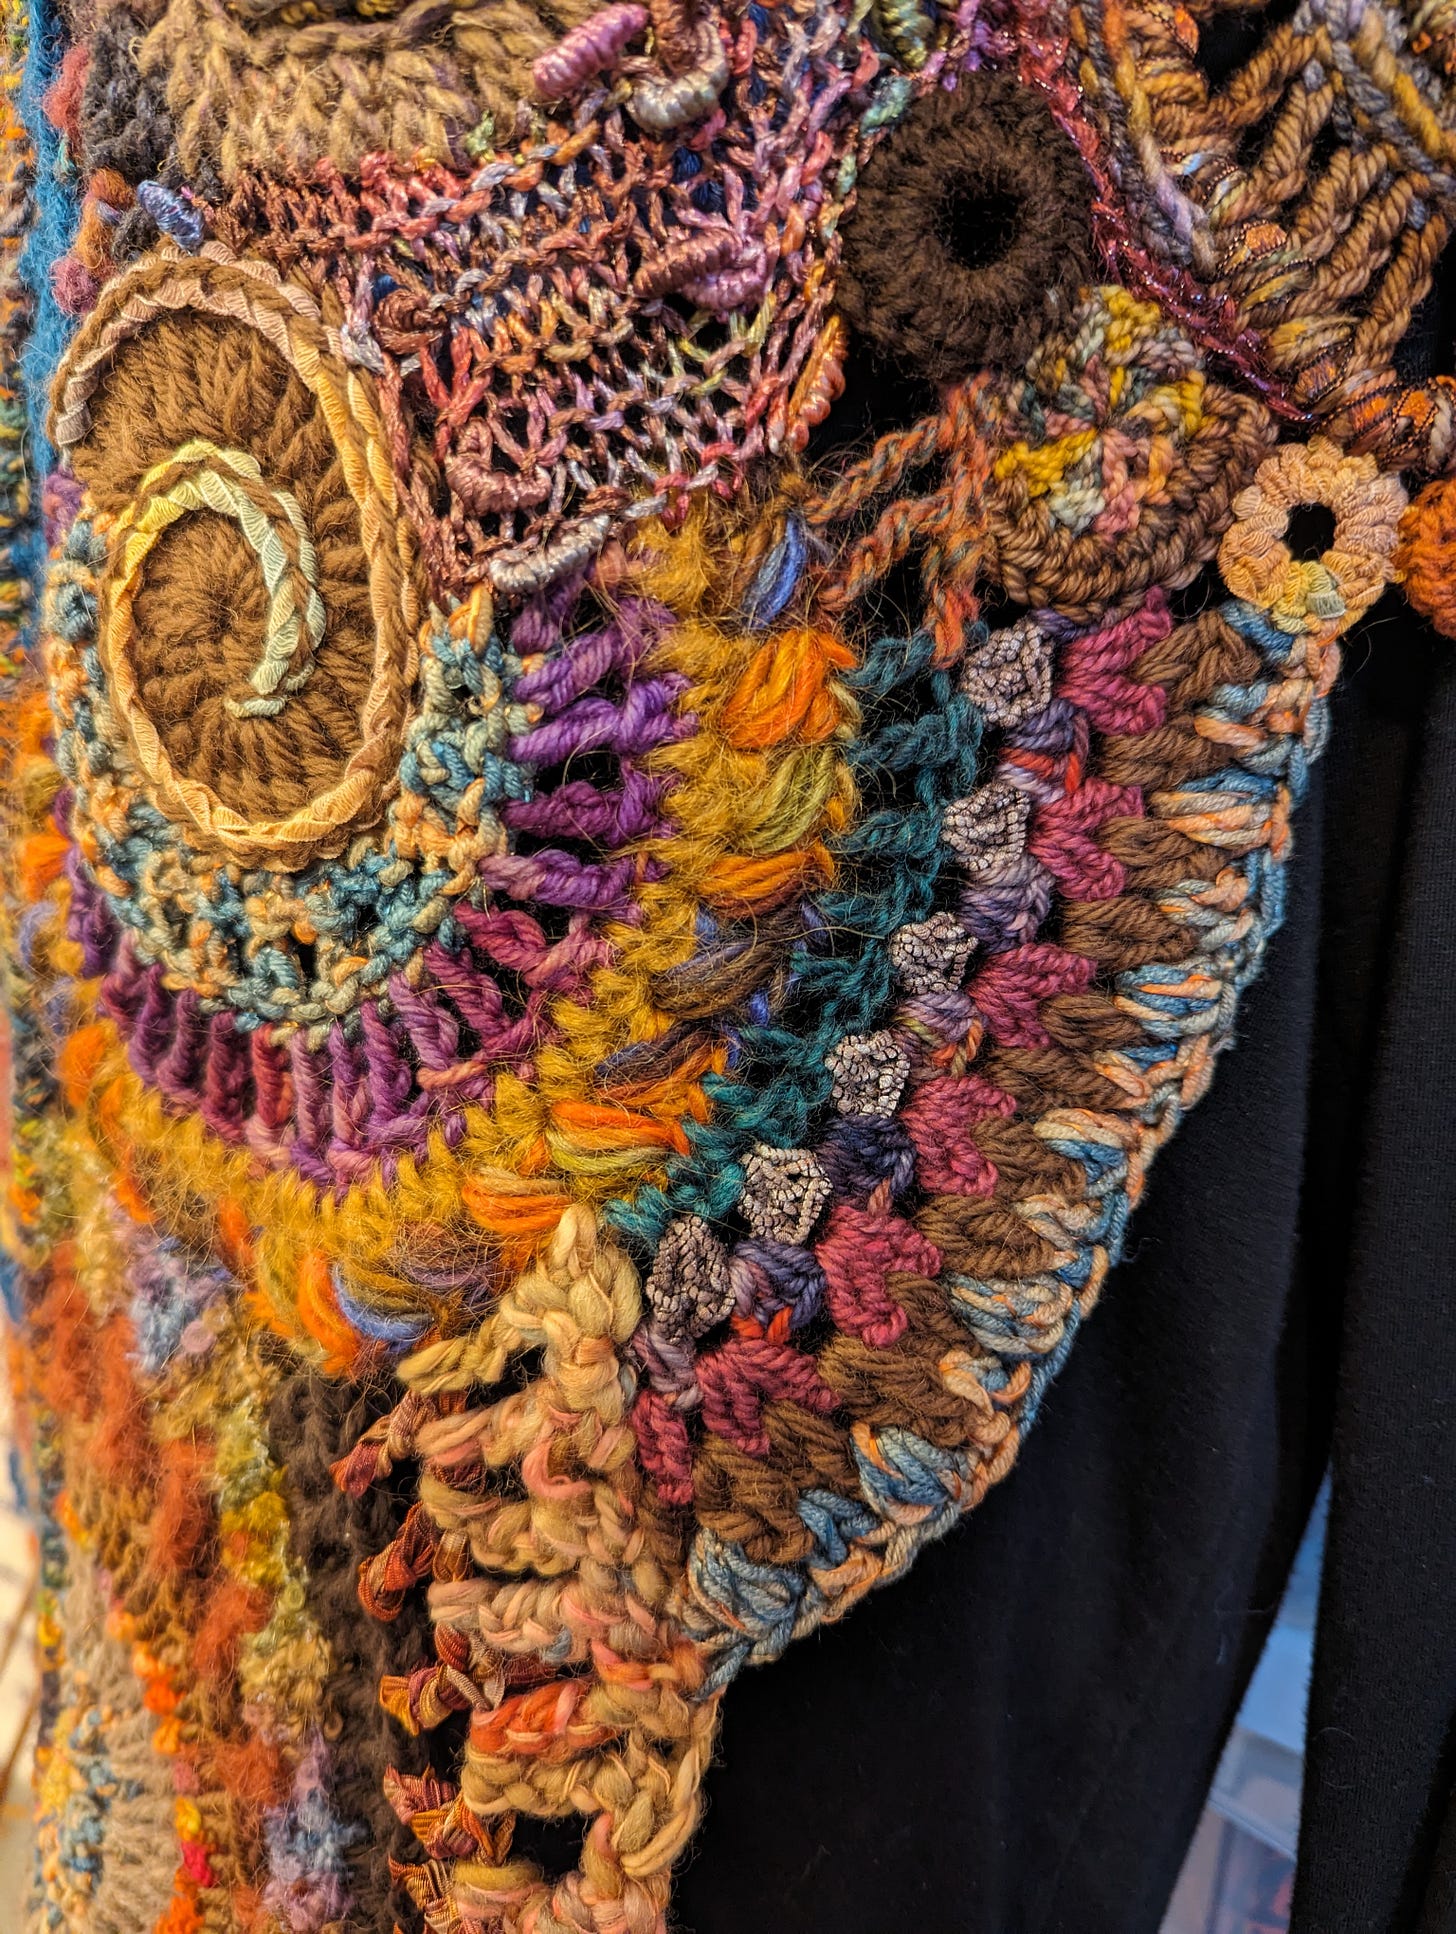
Five rows of granny stitch are in a slightly curved section of the Organic Shawl, shown below. These rows of granny stitch curve the way they need because I added extra stitches in the second row, used a heavier yarn in the third row, used an even heavier yarn in the fourth row, and added an extra stitch to every other cluster in the fifth row.
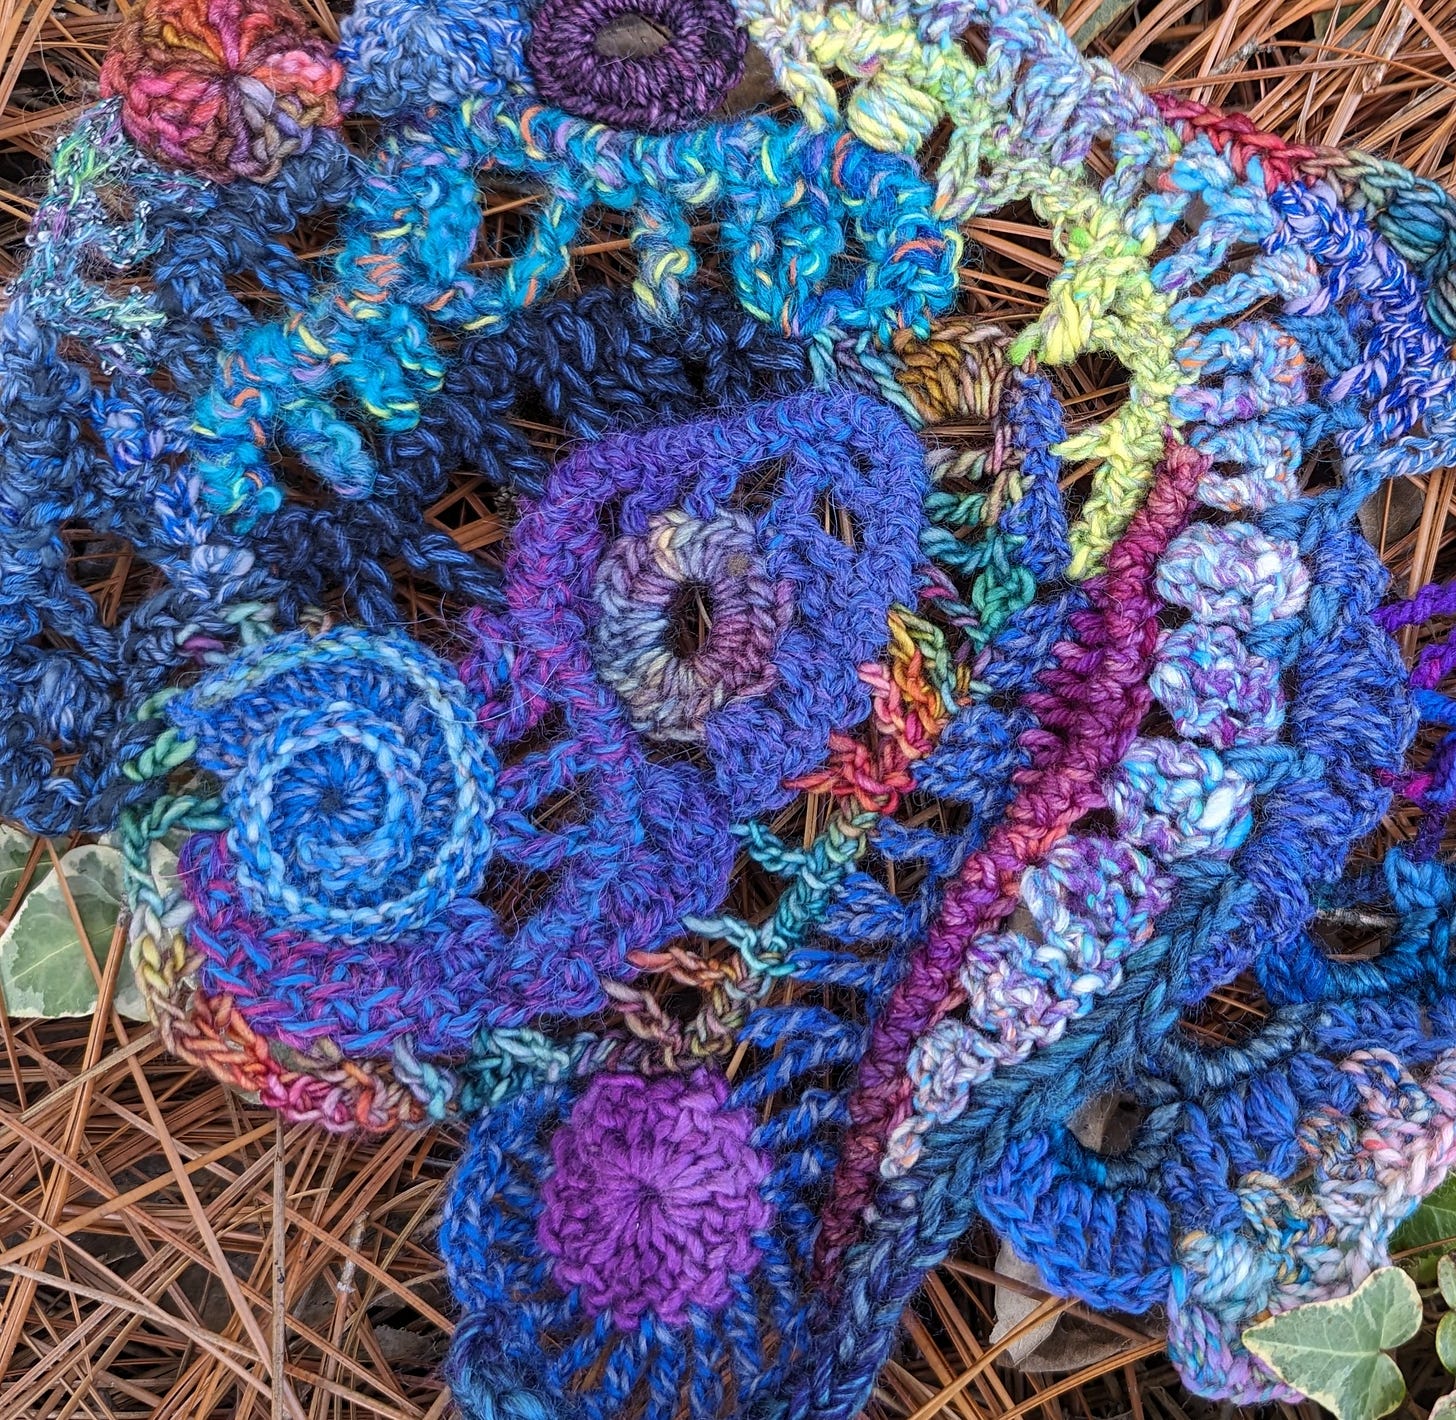
There's just a little bit of granny stitch in two different spots in the following scrumble, both found towards the right edge of the photo:
What stitch is your sentimental favorite? Do you like to find ways to use it in your fiber projects?
something to try
In the most recent issue of the newsletter, I mentioned that Jean Draper’s embroidered whip stitch technique had inspired a new idea for surface embellishment. This embellishment found its way into some of my crocheted leaves, and I thought it might be fun to describe how they were made in case anyone might like to try it for themselves.
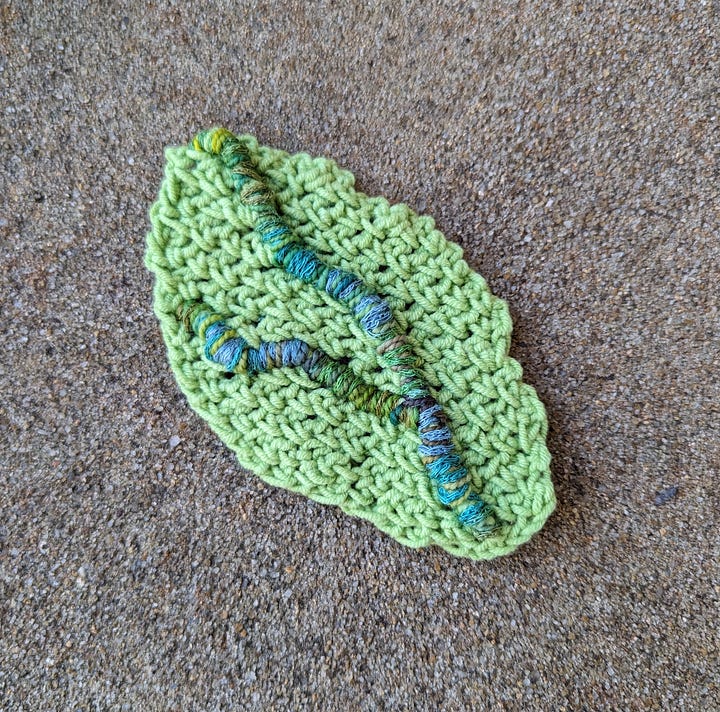
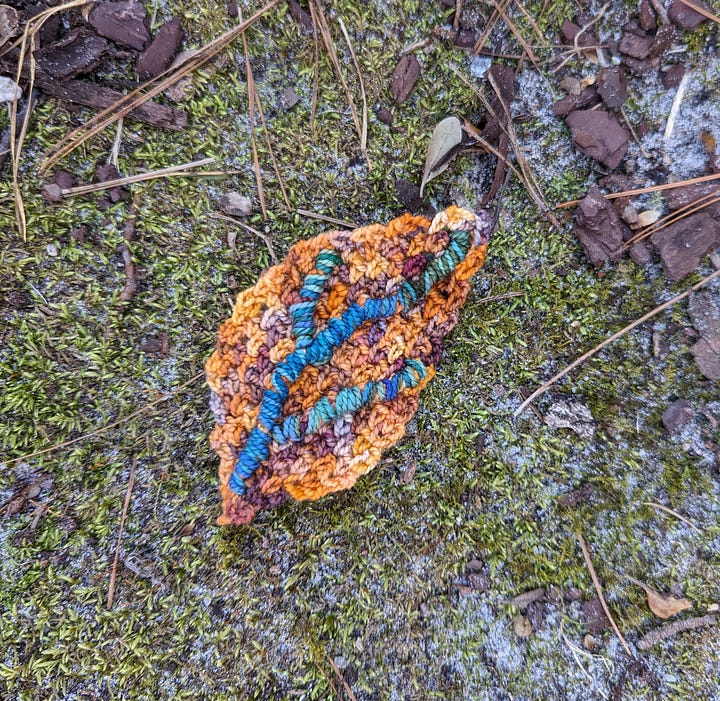
First, the leaf itself. Both leaves are worked in linen stitch, an easy stitch to use for improvising because it’s a simple one row repeat. Single crochets alternate with chain stitches. In all rows after row one, the single crochets are worked into the space created by the chains. You can use any stitch pattern that you like to create a leaf, though, just start with a few stitches and increase randomly at the edges to make it grow in width, then decrease randomly to make it narrow down to a point.
Second, the surface embellishment. I made it harder than necessary by working double crochet stitches around the post on the surface of the leaf as I crocheted the leaf itself. Ugh. I won’t elaborate further, except to say that there was lots of ripping back and reworking. It didn't take long to realize that this method required more planning and mental gymnastics than I really wanted to manage.
The (much) easier way to get the same effect is to make the leaf first, then add the veins by working single crochets across the surface. The linen stitch provides plenty of places to work the surface stitches in whatever path you’d like the veins to take.
Once you finish the surface veins, it’s time to add the whip stitch embellishment. Choose a couple of yarns and thread a few strands together on a yarn needle with a large eye and a blunt tip. Bring the needle up from the back right beside the surface vein. Take the yarn up and over the vein, and put the needle through the leaf to the back to complete the whip stitch. Continue whipping around the surface crochet until you’ve covered it to your satisfaction. Secure the tails on the back of the leaf and weave in the ends. Enjoy the loveliness.
a few more things you might like
Radium Girls by Kate Moore is fascinating historical non-fiction that reads like fiction. Many thanks to Connie for the recommendation.
Textile artist Bea Bonanno weaves freeform tapestries with unusual techniques and materials.
Writer Austin Kleon reposted his article called How To Read Like An Artist in Notes, the Substack social feed. I like it just as he wrote it, of course, but I also had fun imagining how some of his suggestions would work if applied specifically to fiber arts.
That’s it for today, thanks for reading!
Lisa
PS Did anyone else here end up starting a 100 Day Project? Leave a comment about it if you’re so inclined, I’d love to follow your Instagram.


A feast for the eyes Lisa, so beautiful!
Lisa, your work is astonishingly beautiful! I love reading your blog posts.