hey everybody,
Recently I’ve been thinking about the little things that we collect from here and there, things that we like just because we like them. It might be seashells, rocks, bookmarks, buttons, figurines, or anything at all. Often there are just certain things that we just like to have around us, and they don’t necessarily have to serve a practical purpose. It’s the same with some of the things we like to make.
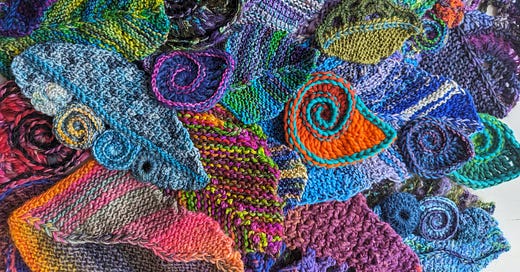
Since I started the 100 Day Project about making leaves, a few people have asked me what I will do with them. During last year’s 100DP they asked the same question about the spirals. And it's a reasonable question. I mean, 100 spirals, really? And now, all of those leaves? What on earth?
I can only give answers about how they might be used, because the truth is that I don’t have a known purpose for each one. Sure, some of the more recent tiny ones are intended to be part of a cowl design, but some of them will act as swatches for working out ideas, swatches that might inspire a future project or class. It’s really not clear yet.
And then some of them will be just for fun. If they’re not attached to my bulletin board or sitting out on my work table being decorative, they’ll stay together as a collection in my studio because I like to get them out and look at them every now and then. I guess sometimes we make The Thing because we Just Want To Make The Thing. The doing and the enjoying are good enough reasons.
Perhaps, the next time someone asks what I will do with all of these leaves or spirals, I’ll have to respond, “I’m just enjoying them for now.”
swatches and experiments
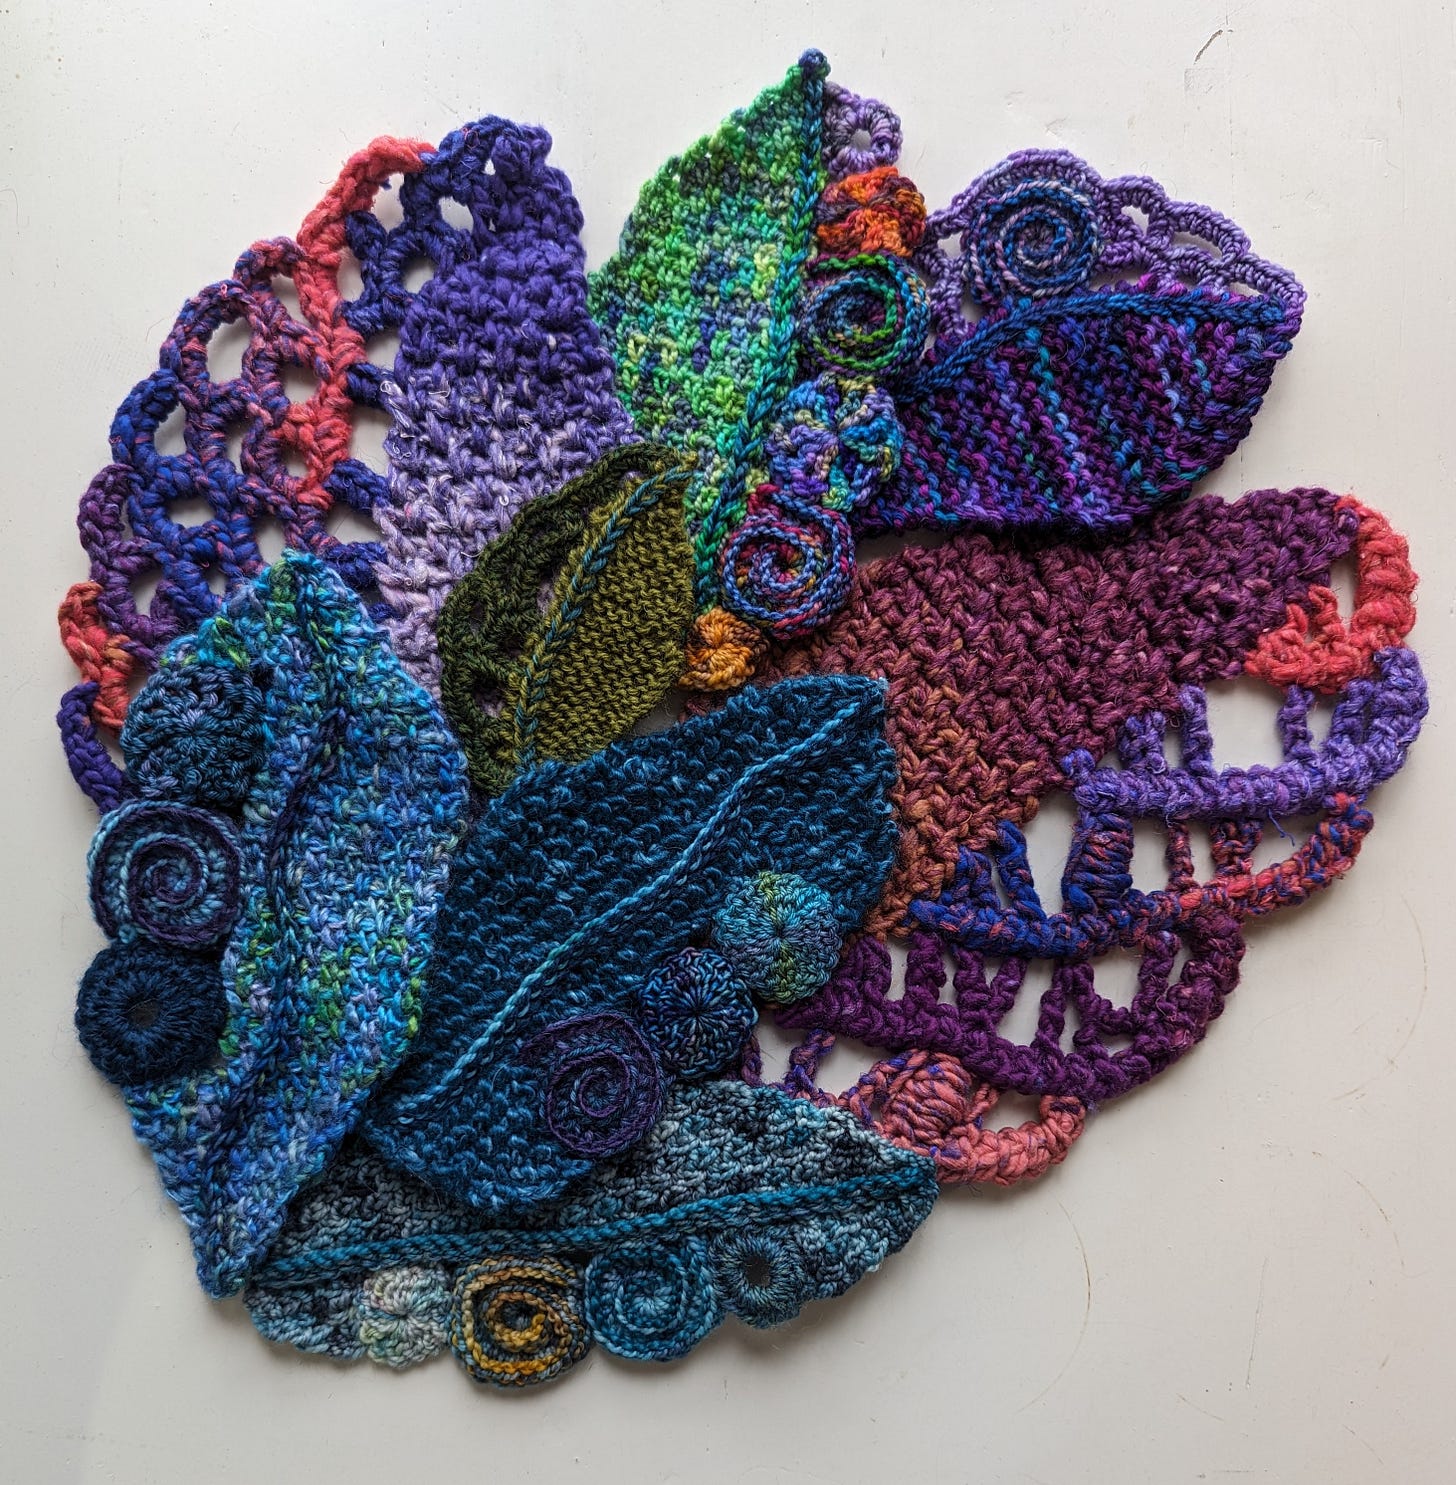
My 100 Freeform Leafy Days project continues to keep me interested and engaged. At the beginning, I was hoping to develop a motif or two that I’d enjoy playing with and using in freeform designs. Setting aside the time and space to experiment has made that possible, resulting in some leaves that are going to be very useful in future projects. Most seem to fall fairly neatly into four categories.
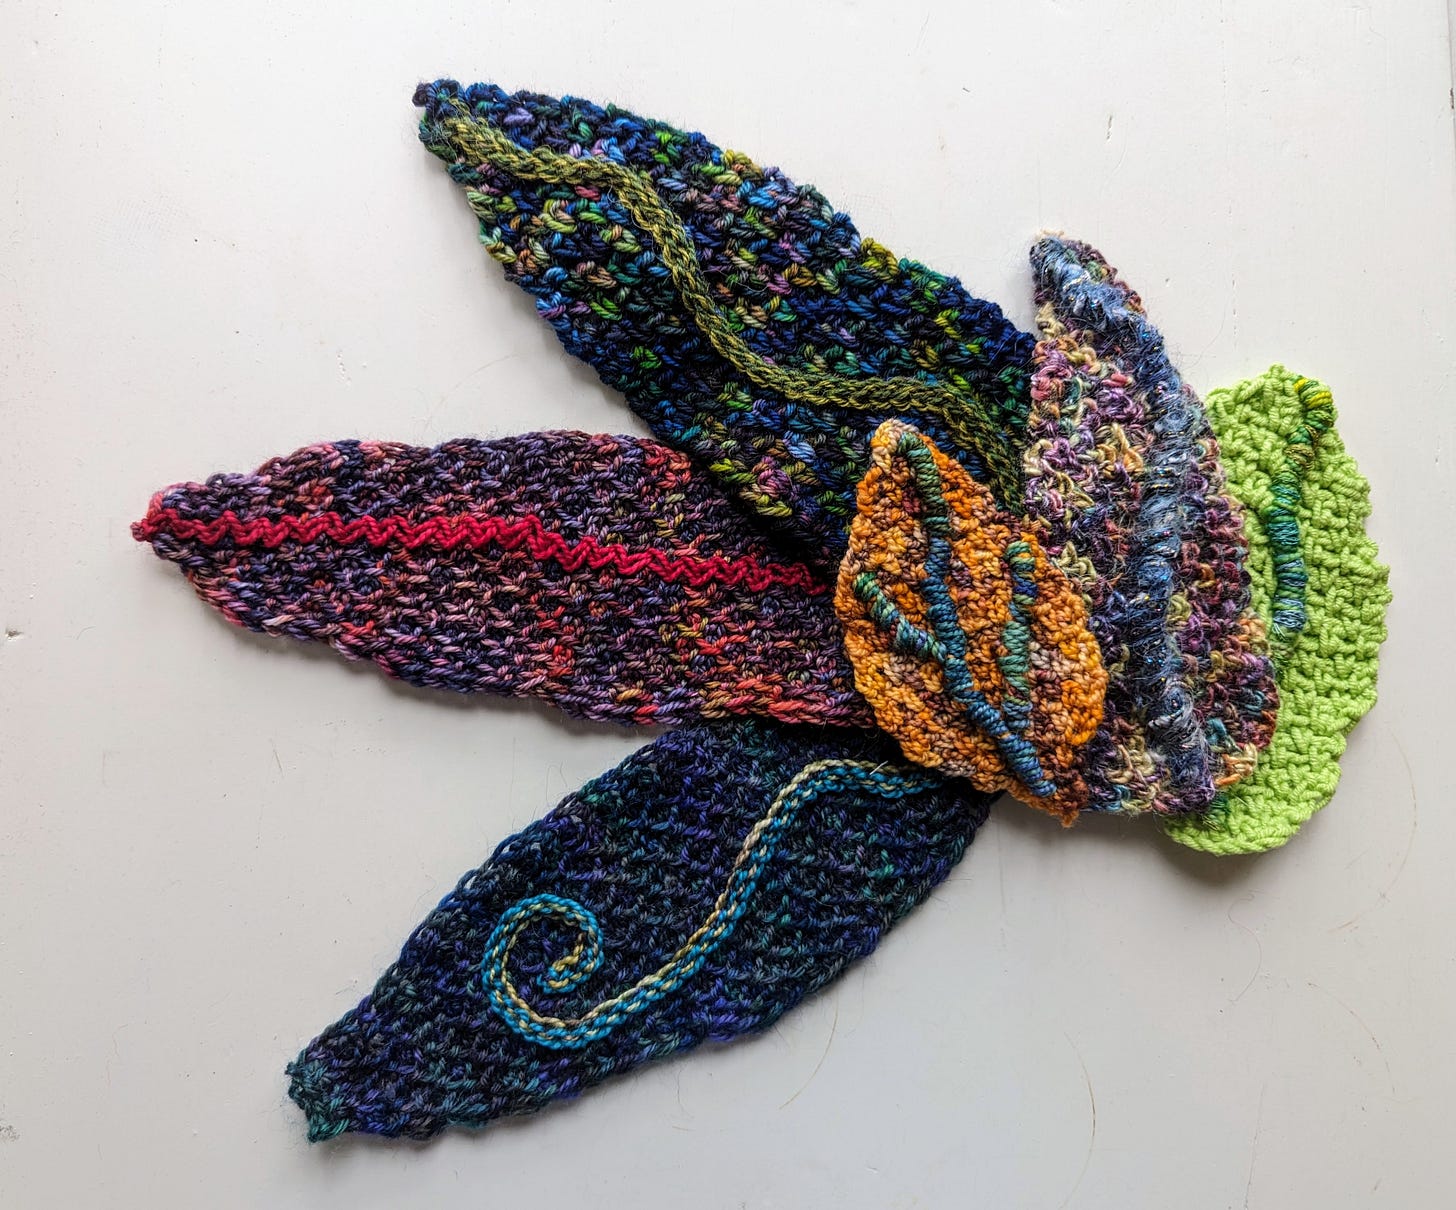
The leaves made with allover linen stitch or Tunisian simple stitch with surface embellishments are a breeze. Making this type of leaf is perfect for TV watching if I save the embellishing for another time when my focus isn’t divided. I haven’t made very many of this type of leaf so far because they’re so simple. But that quality will make them super flexible and variable, perfect for freeform.
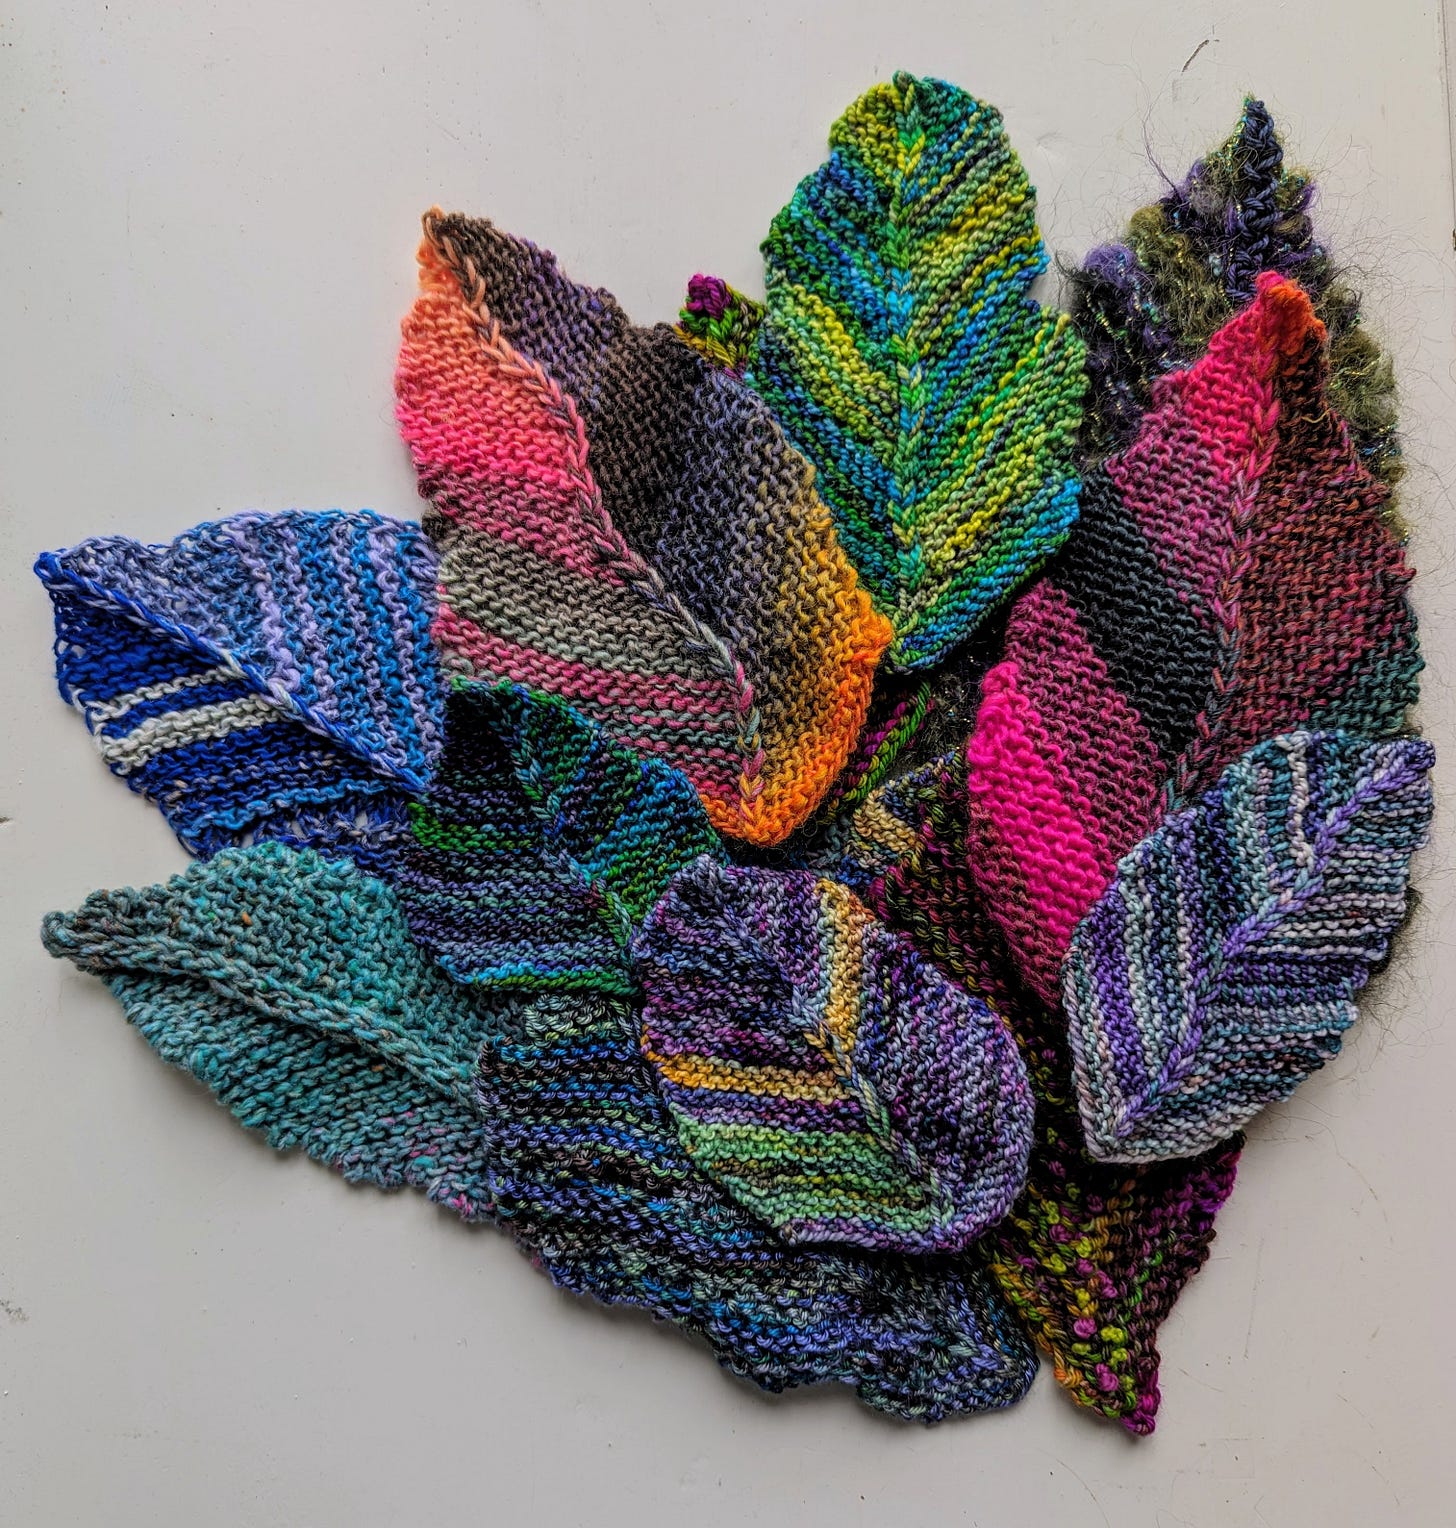
Leaves with mitered construction require a little bit more attention and planning, which makes them harder to use in an improvisatory way, but it does seem to get easier with practice. Some of them are all garter stitch, some have other stitch patterns and techniques worked in, like feather and fan, stockinette stitch, and Tunisian crochet. I’d like to keep adding more variety to this type of leaf.
The half and half leaves allow for lots of variety. Making them was especially fun because of all that variety, like garter stitch, crochet linen stitch, freehand lace, motifs (circles and spirals), surface embellishment, Romanian point lace cord, and texture stitches.
Spiral Rex begonia leaves and my obsession with spirals inspired this last category. They’re quick to crochet, so it was easy to experiment with each one to vary their shapes and personalities. These little spiral leaves will be fun to use in freeform fabrics in and amongst all the circles, regular spirals, and swoopy lines. You might enjoy trying them, too, so I’m including a basic spiral leaf pattern just below.
a crochet spiral leaf for you to try
The leaves require lots of shaping, but they are fairly straightforward if you know the basic crochet stitches. I haven’t included a stitch glossary in this small space, so if your crochet skills are rusty, keep a beginner’s guide nearby for handy reference.
Materials: 2 contrasting colors of worsted weight yarn in small amounts (4g for the main color, 1g for the surface embellishment) and a G or an H hook.
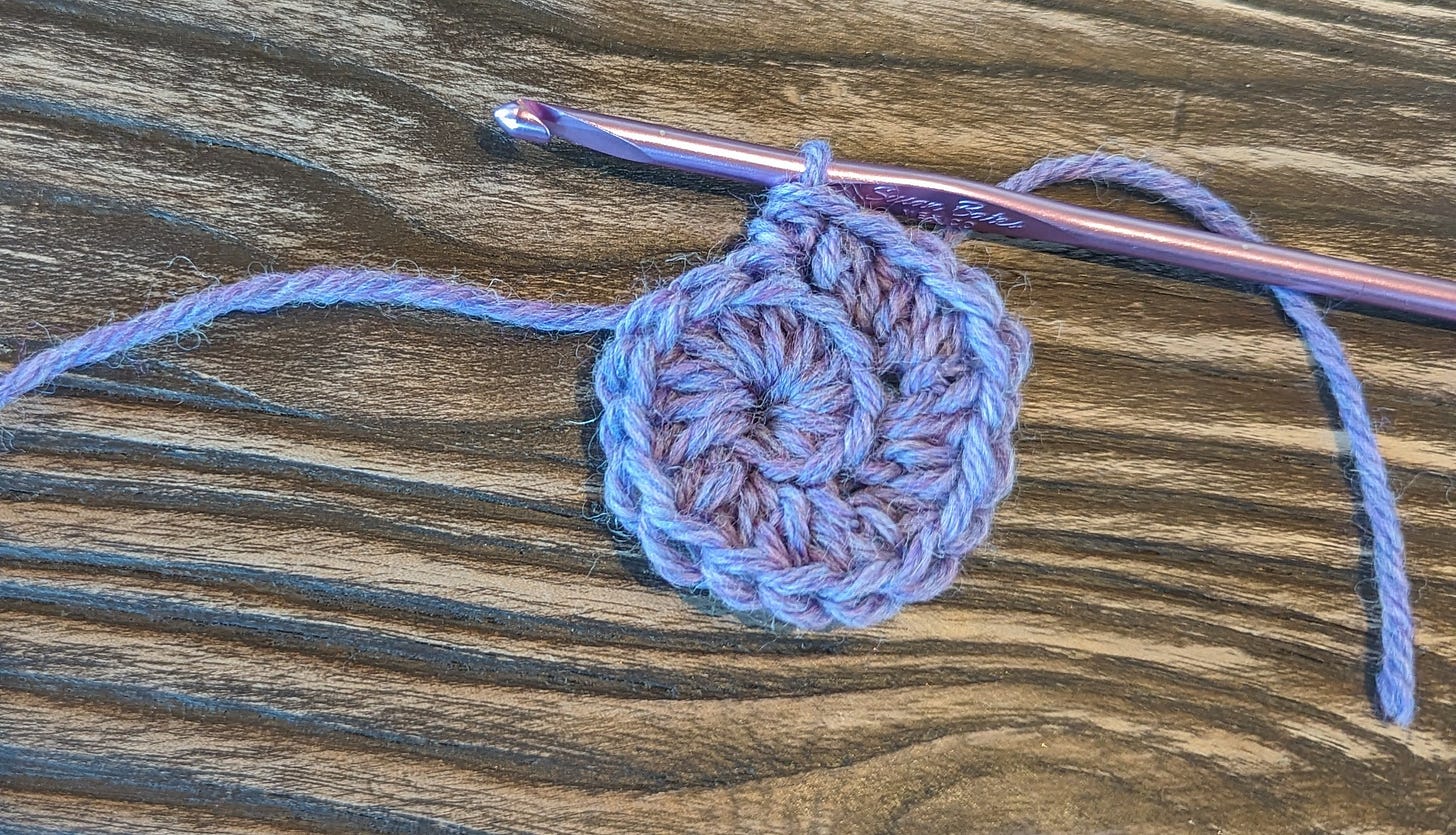
Begin: ch 4, sl st to join into a ring. The first 12 stitches of the spiral will be worked into the center of this ring: Sc into the ring 2x, hdc into the ring 10x. Be sure to spread the stitches out so that you can see all 12 of them. You’ll be working into the tops of stitches going forward, starting with the 2 sc stitches from the very beginning, so do try to keep the hdc stitches from covering up those 2 stitches.
From this point on, all stitches will be worked through the back loop only, leaving the front loops available for embellishment later on. Work 2 hdc into each of the two beginning sc sts, then 2 hdc into each of the next five stitches.
Work (1 hdc and 1 dc) into the next stitch, 1 dc into the next stitch, 2 dc into the next stitch, 1 dc into the next.
Work (1 dc and 1 tr) into the next stitch, 2 tr into each of the next three stitches, 1 tr into the next stitch, 2 tr into the next stitch, and 1 dtr into the next stitch.
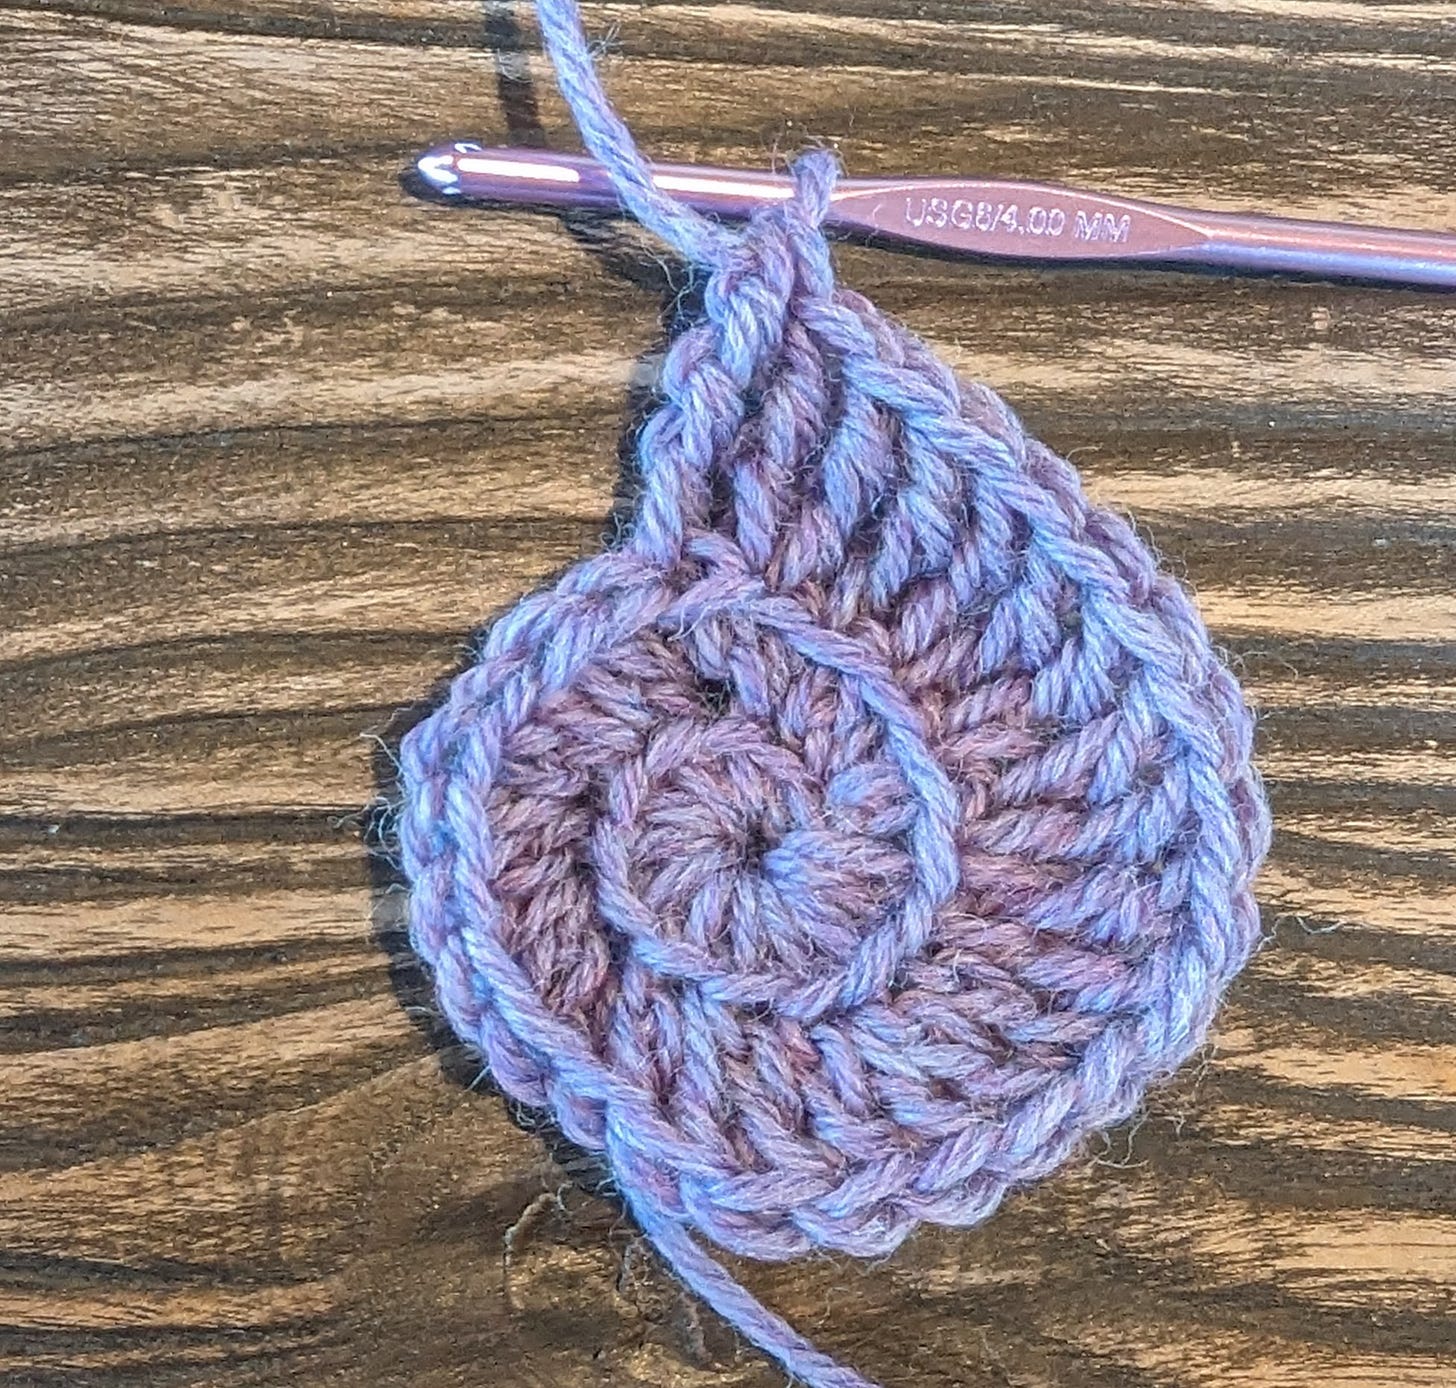
Looking along the left side of the dtr stitch in the photo above, you’ll see 3 bumps along that edge. Working along the left side of the dtr stitch into those bumps, chain 1, make 1 sc into the first bump, 1 hdc into each of the next two bumps, and 1 dc into the same back loop as the dtr was originally worked.
Finish the spiral with 1 hdc into the next stitch (still working into the back loop only), and 1 sc into the next stitch. Cut yarn, and pull up on the loop until the end comes out the top of the sc.
Work an invisible join to mimic a slip stitch and finish off the main part of the spiral. If you’re not familiar with the invisible join, there’s a tutorial in Issue 3 of this newsletter that you can refer to.
Surface embellishment:
Accentuate the spiral shape of the leaf by working slip stitches into the front loops that were left exposed as well as the front loops of the stitches on the outer edge of the motif, starting at the center.
Using a contrasting color of worsted weight yarn, slip stitch into the loop closest to the center of the spiral, then work 1 slip stitch into each remaining exposed front loop, going all the way around the spiral until you get to the final slip stitch on the outermost edge.
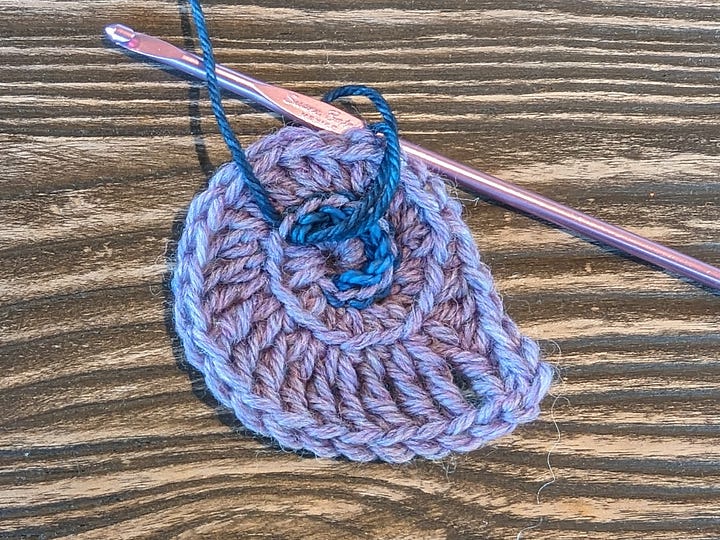

Cut yarn, and pull up on the loop until the end comes out the top of the slip stitch.
Take the tail through the next stitch to the back of the motif with a tapestry needle and weave in the ends.
As you can see, the leaf shaping was accomplished by varying the stitch heights. You can make your own variations of this leaf by playing with when to change to the next stitch height. If you do some experimenting, you’re sure to come up with all sorts of ideas.
a few more things you might like
Macrame artworks by Rona Maranan are like no others I’ve seen. Some of them look a lot like crochet. Her leaves are especially beautiful.
Textile artist Lidia Puica uses lots of texture in her crochet and embroidery jewelry work.
I’m a fan of this recording called Beethoven For 3 in which Leonidas Kavakos, Yo Yo Ma, and Emmanuel Ax play a piano trio version of the Pastorale Symphony.
That’s it for today, thanks for reading!
Lisa
PS: Last month at the Carolina Fiber Fest, I was so happy to get one of the bookmark weaving kits I’d seen on social media from Cottontail Farm. I’m a sucker for a tiny loom.







Your leaves are exquisite Lisa!! However you end up using them, like you say you can simply enjoy them for now. :)
It's interesting how the mitered corner really shines with the variegation, while the spiral is nice for solid yarn. The half and half look like a fun way to experiment with edging patterns and ideas.