Issue 7, finishing the 100 Day Project
and a texture stitch challenge
hey everybody,
All of you 100 Day Project People, can you believe that it’s almost over? When it started, it kind of felt like 100 days was actually going to be forever, silly as that sounds. But no, the 100 Day Project (100DP) will be ending in just over a week, and I suppose it’ll be time to get back into my works in progress, and plan for new things, too. If I must. My 100-small-spirals-project grew into something of an experimentation retreat that has been so creatively stimulating. I’ll miss it when it’s over.
Here are some of my favorites from the past few weeks.

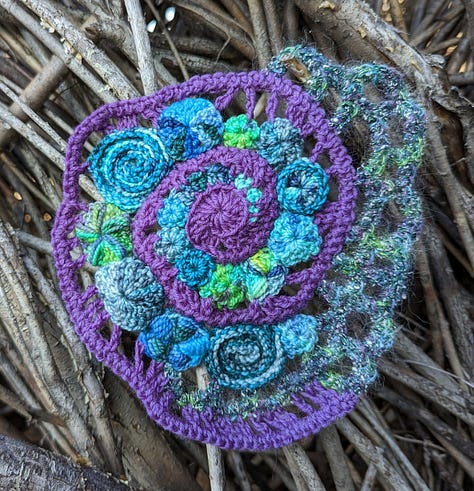
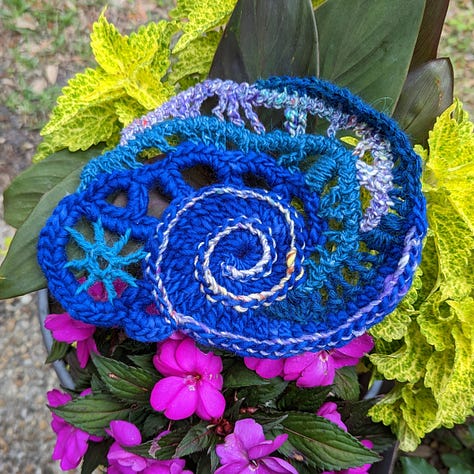
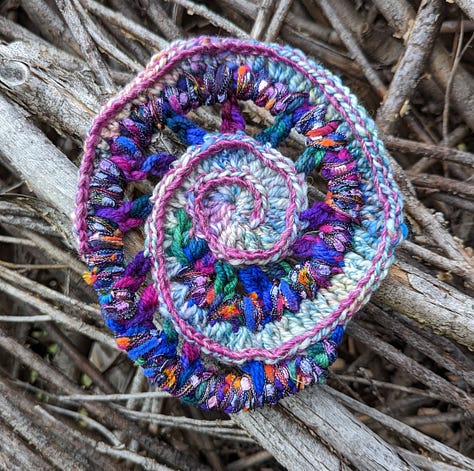
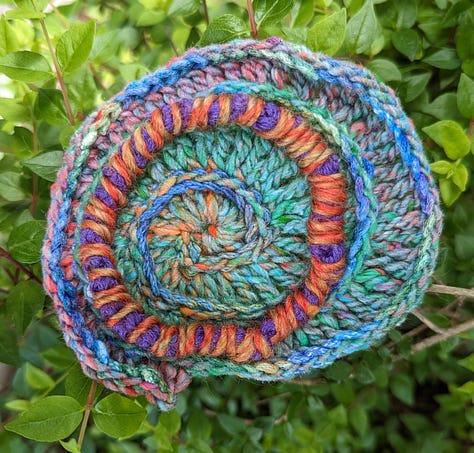

For other spirals in recent weeks, I’ve used some colors I’m not as comfortable working with.
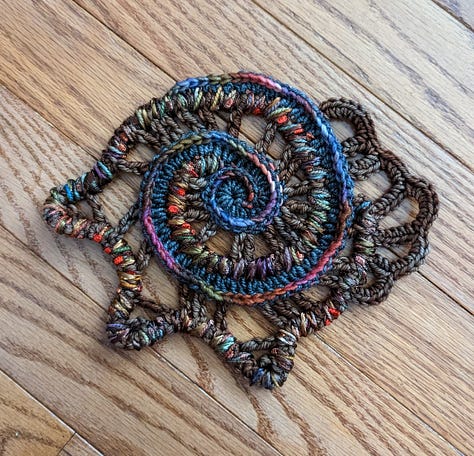
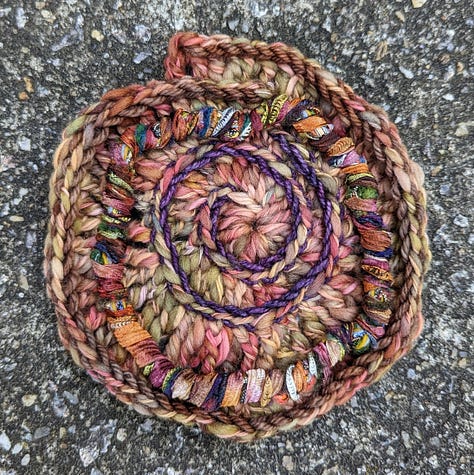
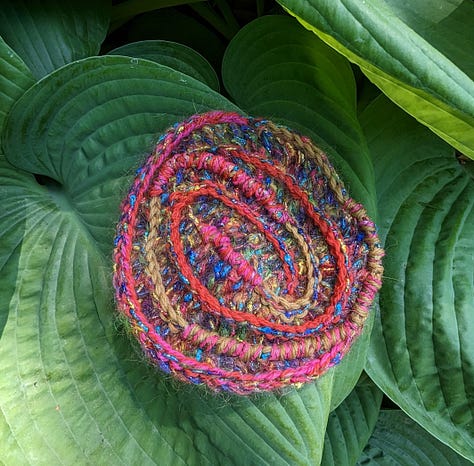
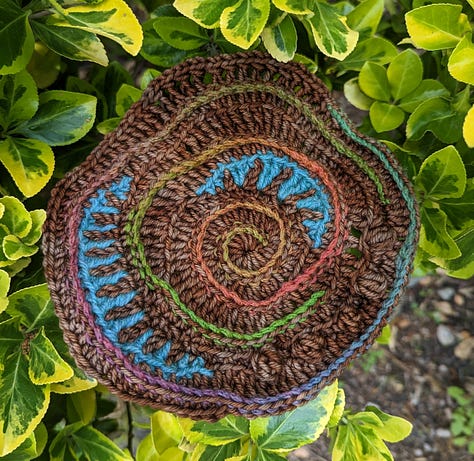

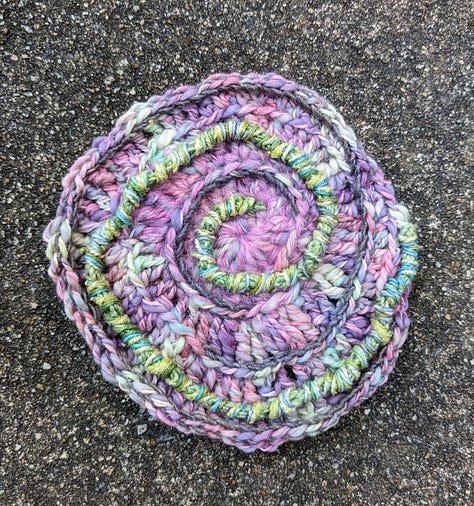
As you can see from the top set of photos, my strong color preferences include blues, purples, and greens. I’m very much at home on the cool side of the color wheel, the medium to medium-dark shades of those cool colors in particular. Incorporating more contrasts and warm/neutral colors into my palette has been a long term project I’ve approached with a somewhat half-hearted, on again off again effort.
Quilter Tara Faughnan did some live presentations on Zoom about color, value, and design this month that are now available as On Demand videos on her website. The talks were geared toward working with fabrics and designing quilts, but many of the concepts transfer to yarn and freeform fabrics, of course. Inspired by Tara to renew my efforts at expanding my color range, I’ve been trying out some new colors and contrasts in my 100DP spirals. It’s been a bit of a struggle, which hopefully means that I’m learning.
something to try: a spiral challenge
Are there any takers for another spiral challenge? This one’s about textures.

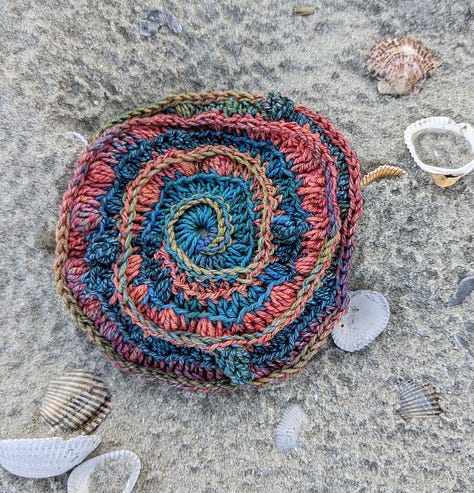
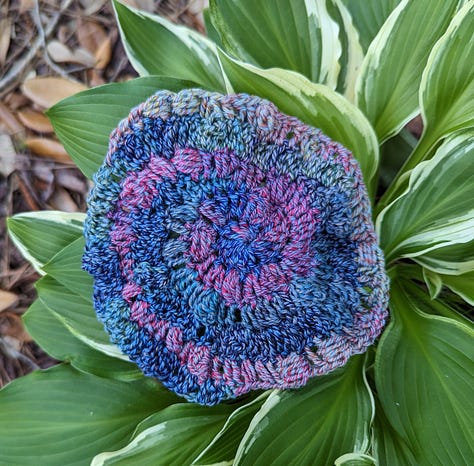
The idea is to make a basic spiral, substituting texture stitches for the basic stitches any time you like. If you need a reference pattern for a basic spiral, I’ve included one here after the descriptions of the texture stitches (below). It's the one that I first published in newsletter Issue #1 (though slightly edited), so you may recognize it if you tried out the little spiral baubles from that issue. For the challenge, start making a basic spiral as directed by the pattern, but substitute in a texture stitch for a double crochet any time and as often as you like.
Note: if you haven’t made a spiral before, make one according to the pattern (without adding texture stitches) just to get the hang of how spirals work. Then, launch into the challenge.
Block stitch: Make a regular double crochet stitch. Then *yo, insert the hook into the space to the right of the double crochet that you just made and pull up a loop* and repeat between the *’s 3 more times. Insert the hook into the work directly to the left of the double crochet you made before, pull up a loop and pull that loop through all loops on the hook except the last one. YO, and pull it through the two remaining loops. All of the loops will be wrapped around the regular double crochet stitch, effectively covering it up.
Popcorn stitch: Work 5 double crochets into the next stitch. Remove the hook from the loop and insert into the top of the first of the 5 double crochet stitches, then put your loop back on the hook and it pull it through. This pulls those 5 double crochet stitches into a cluster. You might have to manipulate the popcorn to bump it out towards the front or back, whichever way you need it to. Popcorns can also be made with just 3 or 4 stitches instead of 5.
Bobble stitch: For a bobble stitch, you’re basically going to make 4 or 5 incomplete double crochet stitches, then finish them off all at the same time, as follows: *YO, insert hook into the work, YO, pull through the work, YO, pull through 2 loops* 4 or 5 times. YO and pull through all stitches, then make a tight chain stitch to secure the bobble. Bobbles might need to be manipulated a bit to make them bump out, similarly to the popcorns.
Puff stitch: For the puff stitch, you’ll insert the hook into the work and pull up a loop that is the height you want the stitch to be. I like to make mine the same height as the stitch that comes right before the puff. *YO, insert the hook into the work and pull up a loop to the desired height * 3-5 times depending on how plump you want your puff stitch to be. YO and pull through all of the loops on the hook, then secure the puff with a tight chain stitch.
You can make the entire spiral very textured, or you can incorporate texture stitches at any regular or irregular interval. Do you have other favorite texture stitches, or texture stitch patterns? How could they be incorporated? Look up some in a stitch dictionary, experiment with your favorites, and see what happens.
Note: don’t forget to make a plain spiral without texture stitches first if you’ve never made a spiral before. It really does help to have that baseline knowledge before tinkering with texture or anything else.
BASIC SPIRAL: With a plain yarn, ch 4, sl st in the first chain to make a small ring. Ch 2, work 11 dc into the ring. The circle will look almost but not quite full. Find the ch-2 from the beginning of the round, and work 2 dc into each of those 2 chains. Now you’re ready to work into the tops of the dc stitches. Working into the back loop only of the dc stitches, work 2 dc in each st over the next 10 stitches. Option: you may decide to work into both loops as you work instead of working in the back loop only. Or, you may decide to work into the front loops only, which will shift the right side of the spiral to the back, more bumpy side. Textural stitches often show up in higher relief on the typically thought of as the wrong side. In the 3 photos above, the first spiral was worked using front loops only so that the wrong side becomes the right side, and the second spiral was worked using back loops only. The third spiral used both loops. You can decide which option appeals to you.
After working 2 dc in each stitch 10 times, you can stop right there (or even earlier if you prefer), or you can keep going to make the spiral larger. If you keep going, you’ll need to judge whether you need to work 2 dc in each stitch, or just 1 dc. Making the right choice about this determines whether or not your spiral will lay flat, which is what you want it to do. Here’s how you do it: work a dc into the next stitch, then look at the dc you just worked and decide if it’s standing up straight (when compared to the stitch directly below it) or leaning to the right. If it’s standing up straight, go on to the next stitch and make your next dc. If it’s leaning to the right, work another dc into the same stitch as the last dc. Keep doing this (it gets easy to eyeball it once you get going) until the spiral is as big as you’d like it to be. This is the trick freeform crocheters use when they want the fabric to lay flat, and this tiny project is a good place to learn it and practice it if you haven’t done it before.
When you’re happy with the size of your spiral, cut the yarn, and fasten off. Embellish with slip stitches or single crochet stitches in the exposed loops if desired.
Comments about trying this challenge are welcomed. I don’t think it’s possible to share photos in the comments here, so if you try the challenge and you post photos on social media, please comment and include a link to your page.
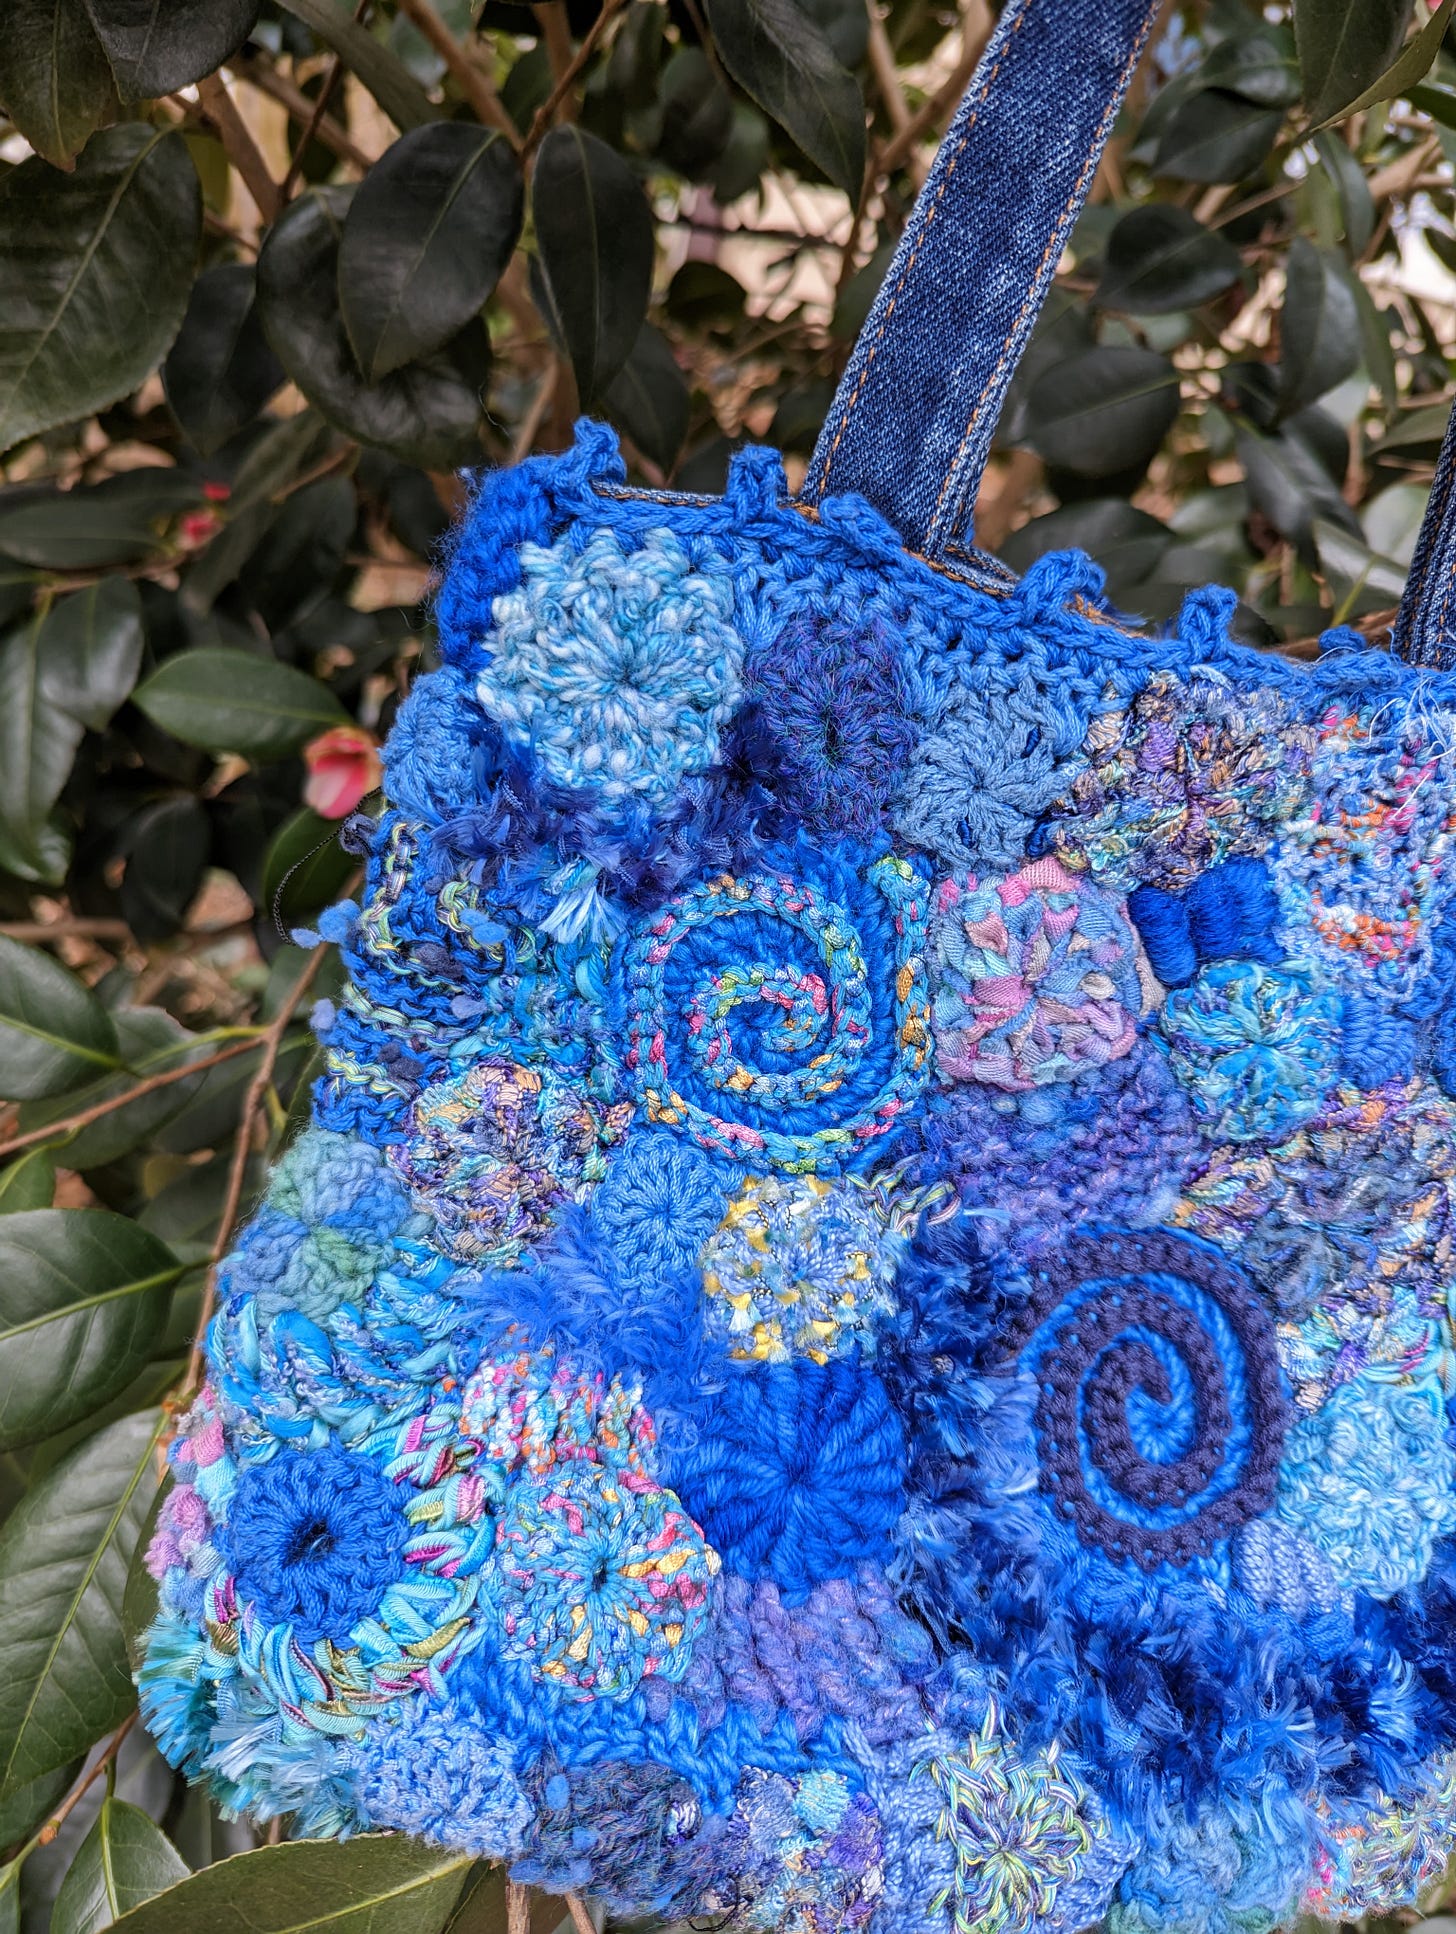
freeform denim tote virtual class
The denim tote virtual class will be on Thursday, June 1, from 6:00 - 8:00pm EDT, with the likelihood of going a little bit overtime. Combine basic motifs and stitches as you learn freeform skills to create a cute purse or project bag. Details and instructions for registration are on the blog.
a few more things you might like
Circular weaving looks like a lot of fun, and here’s a class on offer from Emily Nicolaides.
Speaking of weaving, this knitted bag with woven embellishment looks like a great way to use small amounts of yarn. The video demonstrating the weaving method is so relaxing to watch!
This photo of storm clouds is said to be real. Even if it’s fake, I really like it. There are a few cool cloud photos in the comments, as well.
Can you possibly stand one more thing about spirals? Here’s a great tutorial for making 2 color spirals from accomplished crocheter Kim Werker. I love the way she starts the center of the spiral with graduated stitch heights. Hmmmm…..here’s an idea for the texture spiral challenge: choose 2 yarns for a 2 color spiral, and use texture stitches for one of the colors, plain stitches for the other color.
That’s it for today, thanks for reading!
Lisa


I love theses spirals, especially the 1st one, you've inspired me to have a go. I've gone with the 2 colour method. I've got a box full of natural dyed wool samples...